Aurora Borealis
Witnessing nature’s most incredible light displays remains a foremost highlight of my life.
(Scroll down for aurora galleries, videos, and science.)
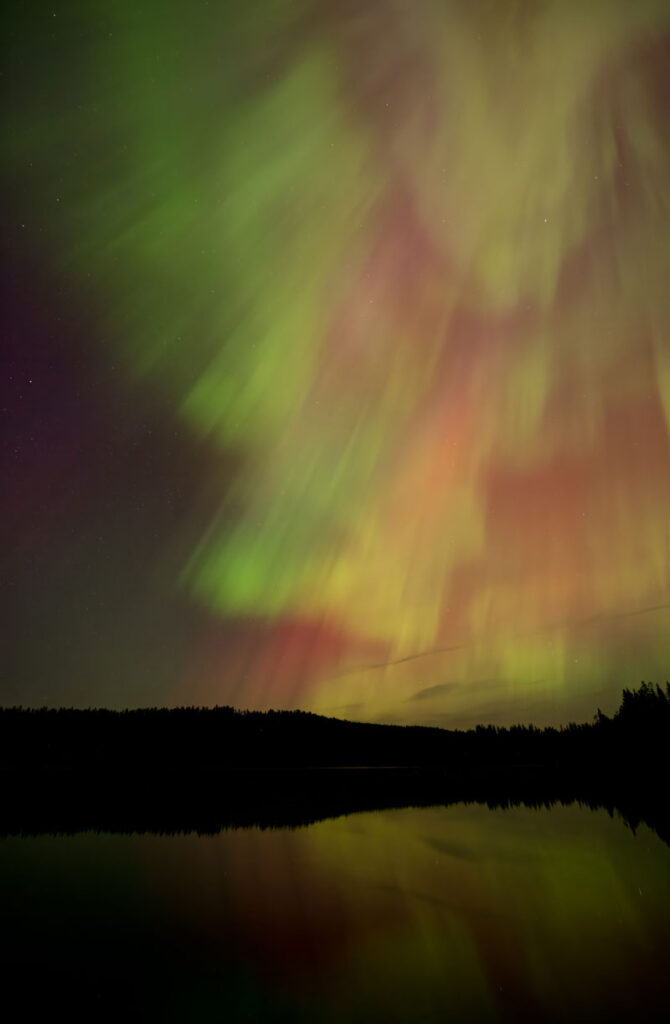
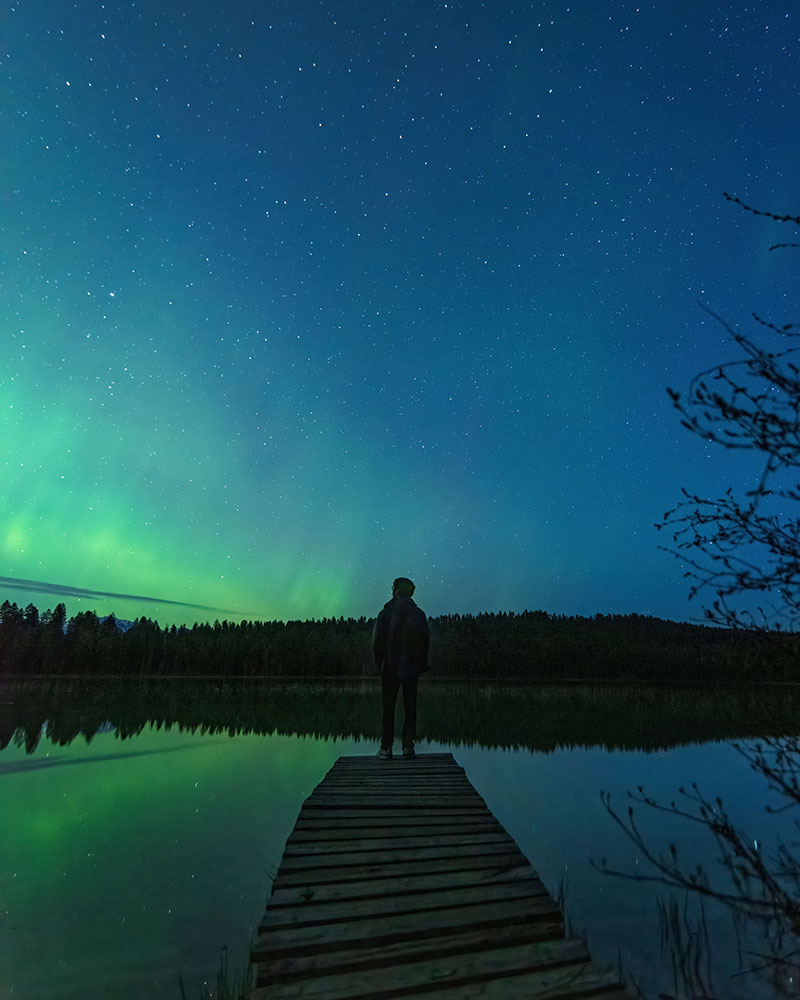
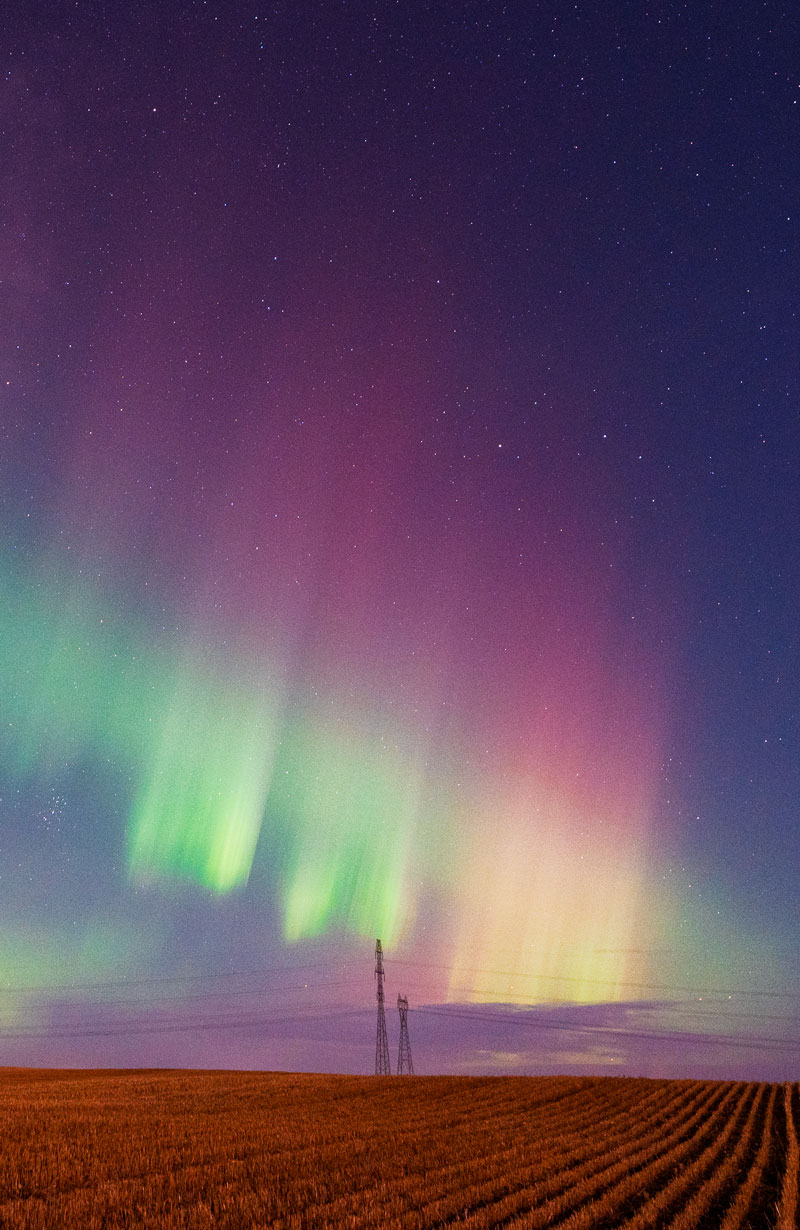
While I’ve caught faint shimmers of northern lights in the skies many times, I hadn’t caught it on camera until AUG 29, 2022.
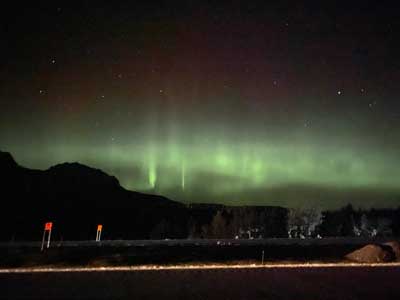
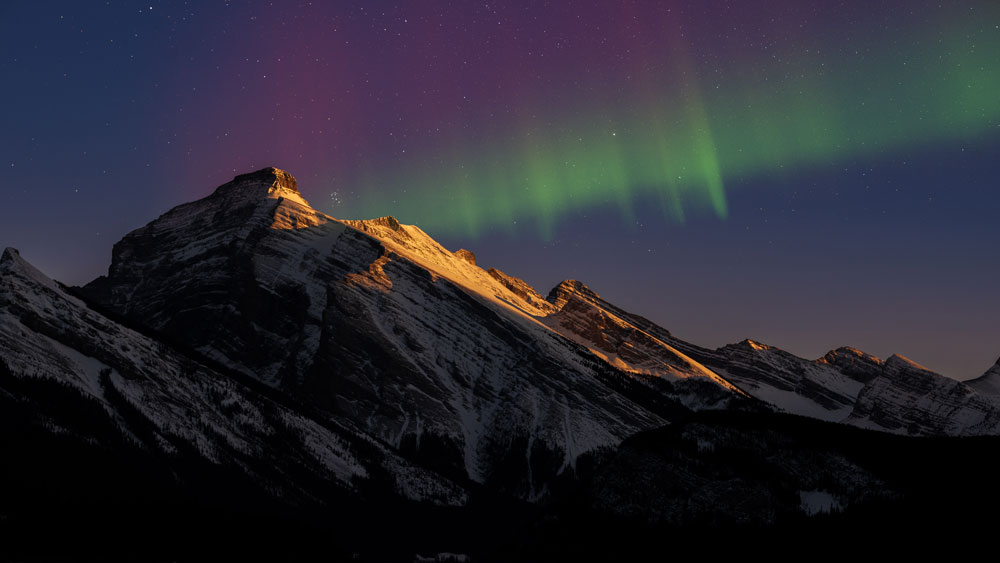
Funny story…I was shooting the Milky Way at Gap Lake near Canmore. I packed up around midnight to head for Calgary. Rounding a bend, movement to the left caught my eye and the aurora was blanketing Yamnuska. I pulled over and snapped some shots but the pics looked all black. In a panic, I got out my iPhone. Once home I discovered the DLSR lens cap was still on!
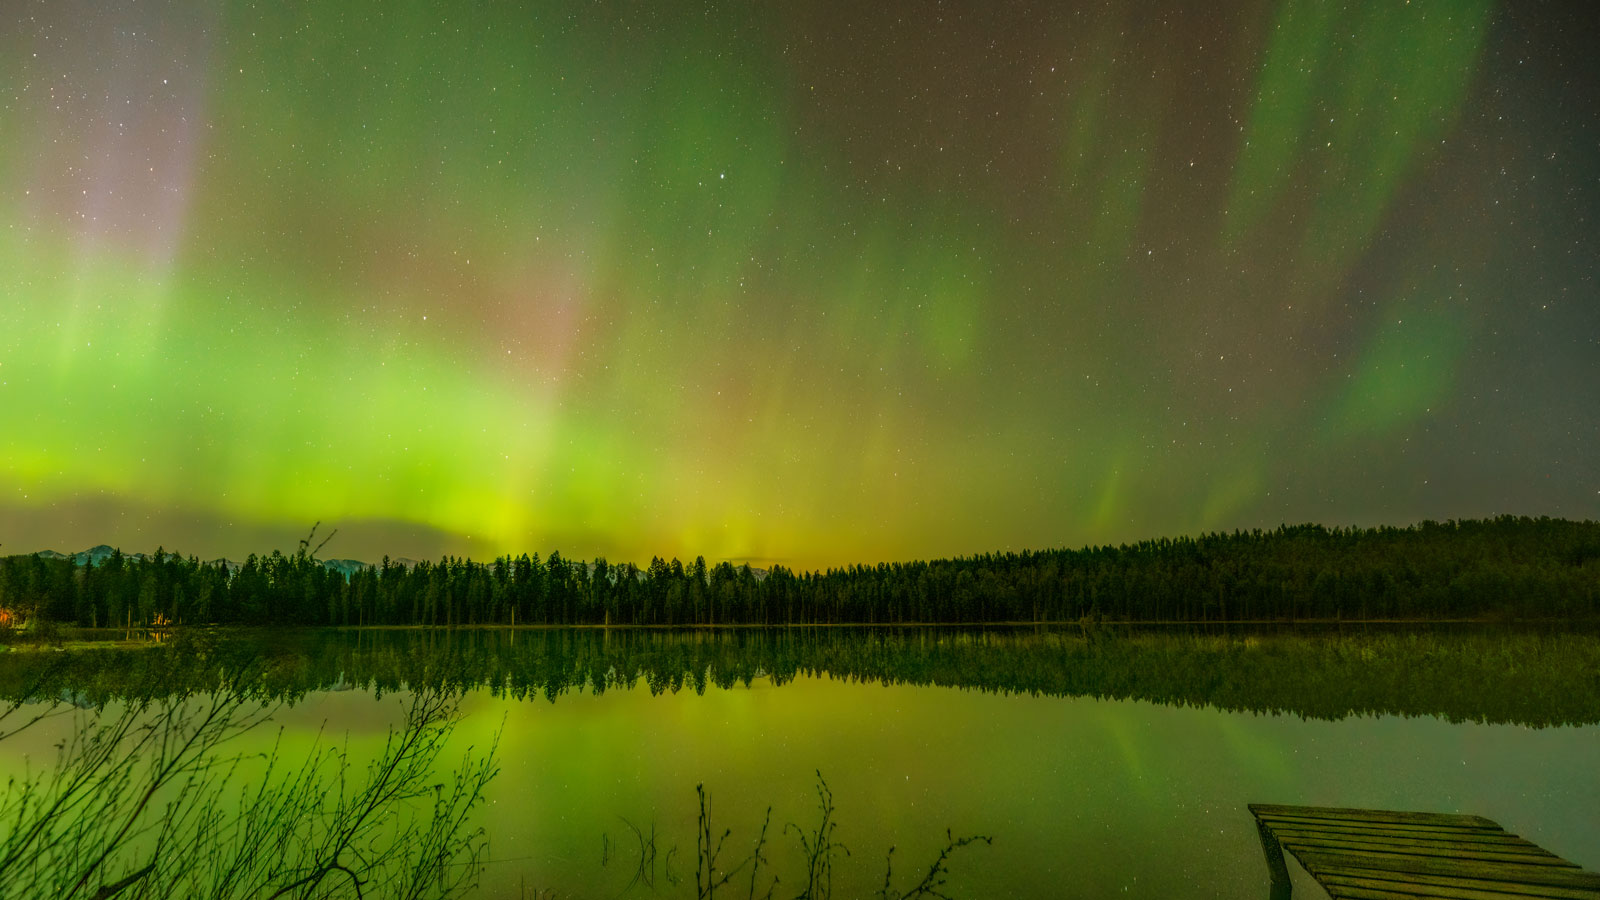
Time-lapses are one of my favourite ways to photograph the aurora.
Time-lapses are one of my favourite ways to photograph the aurora. the technique is to shoot at least 30 minutes of still images, then merge them into a time-lapse. that way you have each frame as a high quality image and a time lose of the aurora’s motion.
Join me under the stars!
I’m always down to share my experience, tips, and techniques. Photographing and editing the Aurora Borealis, Milky Way, Comets, Meteors, AirGlow, the Moon, and more using little more than a DLSR and remote shutter control on a tripod (optional star tracker) is a blast. Let’s talk.
Want to capture the aurora? Get out there!
Since that night in AUG 2022, I’ve been blessed with more than 35 opportunities to capture the aurora (with my lens cap off). The biggest aurora storm being a G5 storm on MAR 10/11 2024.
Some of my other favourites include the Elk island aurora in DEC 2023 which pulsated as it drifted over me during 5 hours of shooting. I stood in my crocs in cold swamp waters as beavers hungrily chewed nearby. Another moment was discovering that I could capture the aurora with a 70-200mm zoom lens after my wide angle lens failed (see “Flow” in the gallery below). And yet another was while camping on the wide open prairies during the Perseids meteor shower, and was rewarded with both massive red auroras filling the skies and 80+ meteors. What a night!
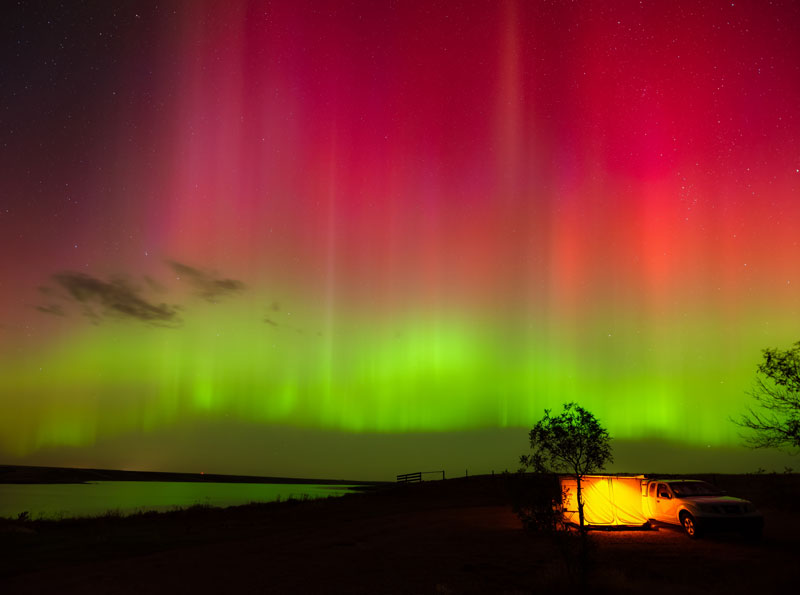
Capturing the aurora with a DLSR camera takes practice, a wide angle lens, sturdy tripod, and a remote shutter trigger.
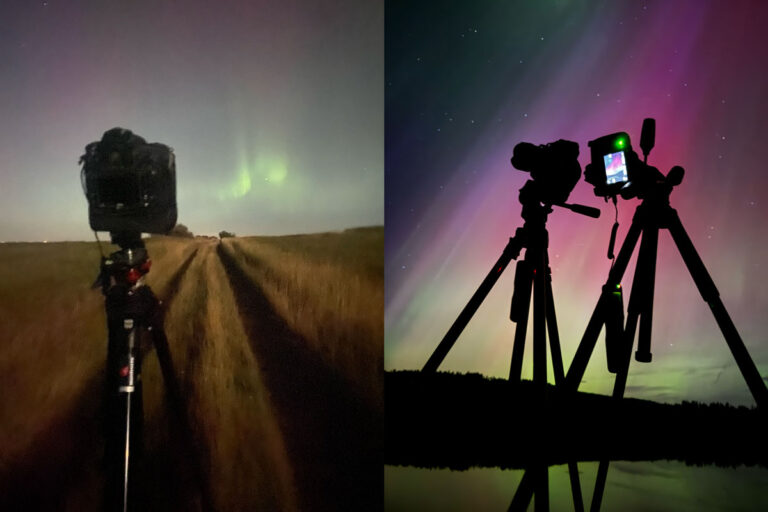
If you have an intervalometer (remote shutter release), you can set it to keep taking pics while you’re watching the aurora dance. First thing to note is that the aurora is different EVERY time it visits. Brighter, faster, duller, slower, nearby or overhead, or far in the distance. So, you’ll need to be ready to adjust your settings and your gear.
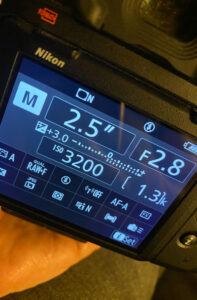
My recommended default camera settings are: 12mm, f2.8, ISO 1600, 6 seconds. Then, adjust depending on how fast and bright the aurora is. Generally speaking, faster moving auroras mean faster shutter speeds, slower moving means longer exposures. At times, I’ve dropped to 2 seconds, ISO 400 as the aurora was so bright and fast moving (the Cartwright Lake event) where it was so bright the aurora washed out the stars! At other times, I’ve switched to a longer 70mm zoom lens to capture it on a distant horizon, stretching the time out to 10 or more seconds. Don’t be afraid to experiment, just be sure you are in focus!
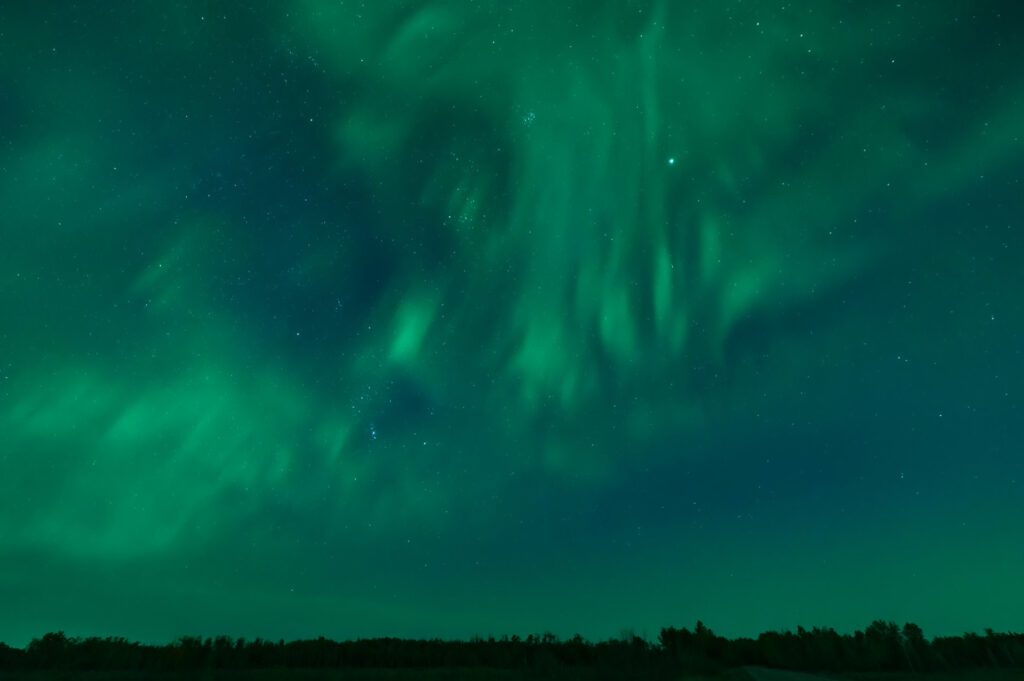
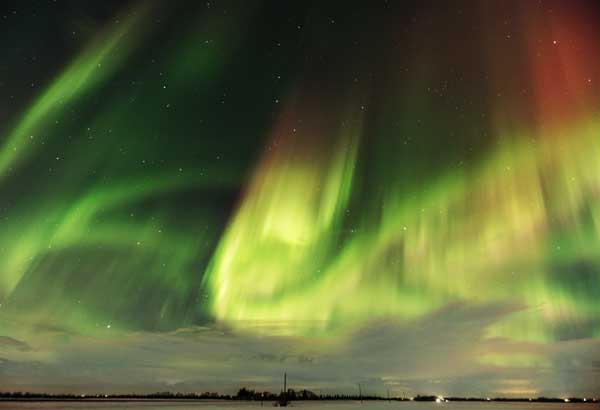 Farmyard Swirl
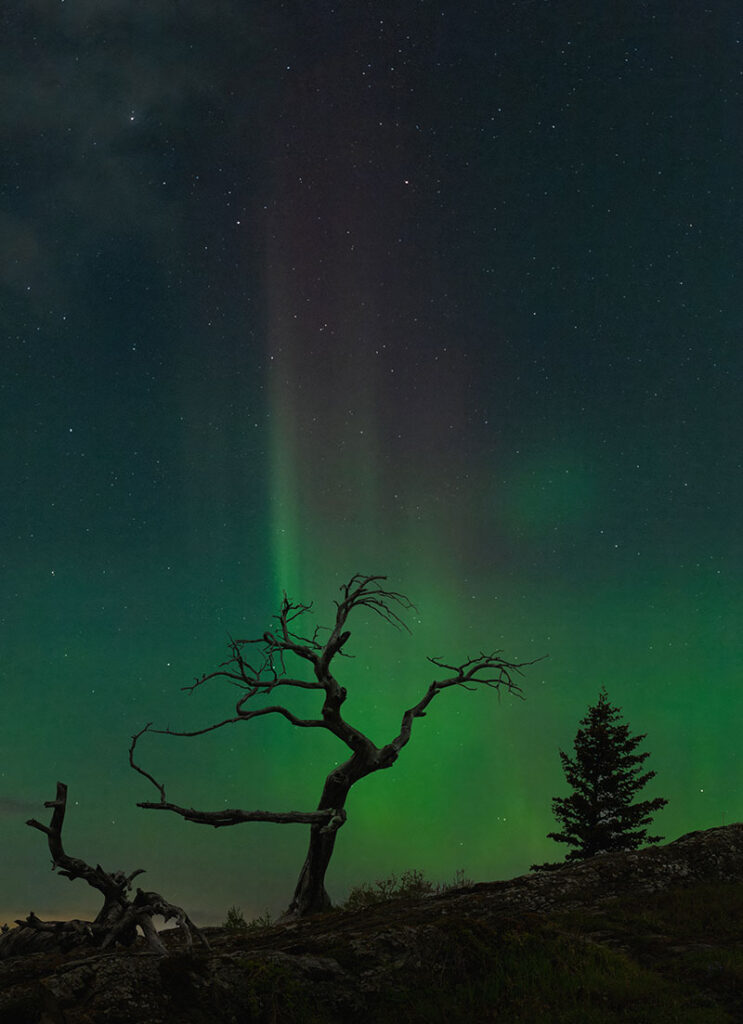 Burmisanu
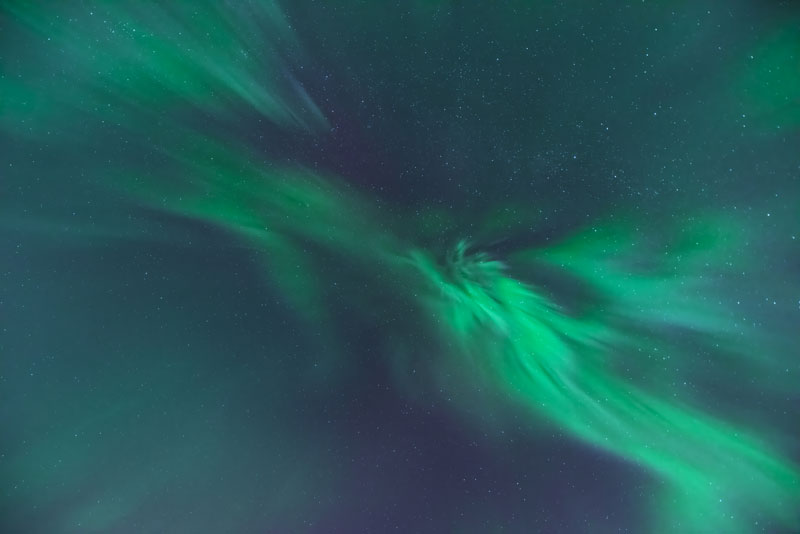 Aurora Corona
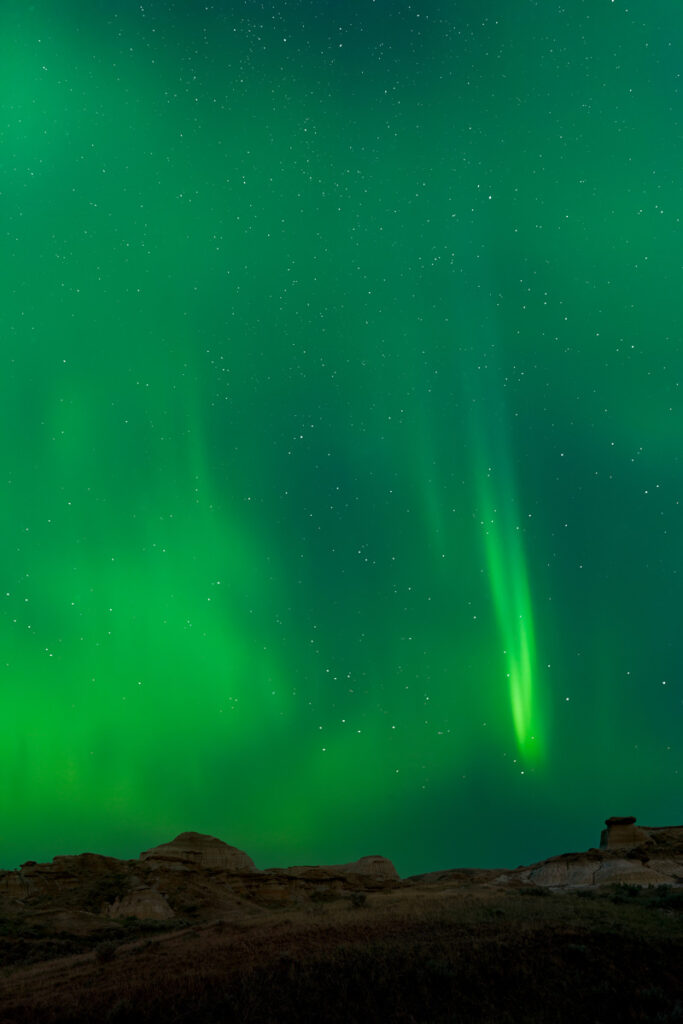 Flow
Flow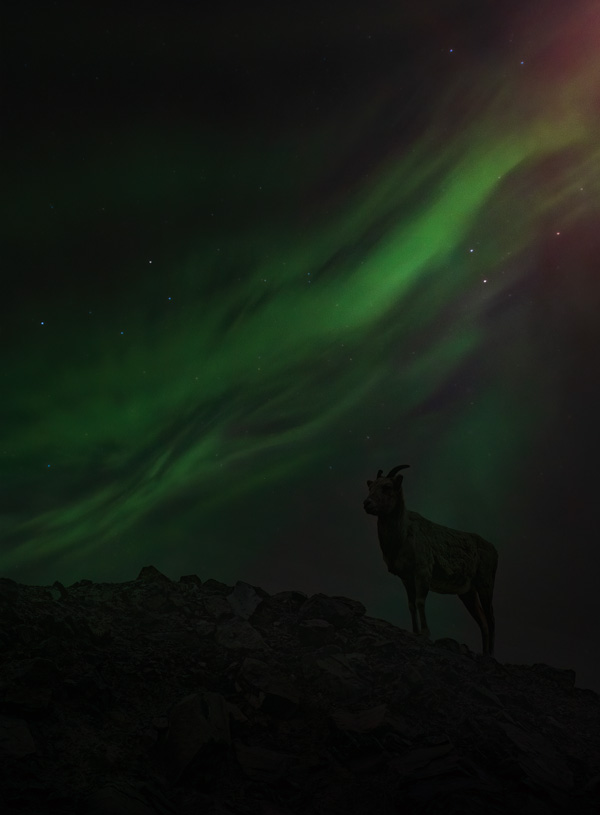 Emerald River
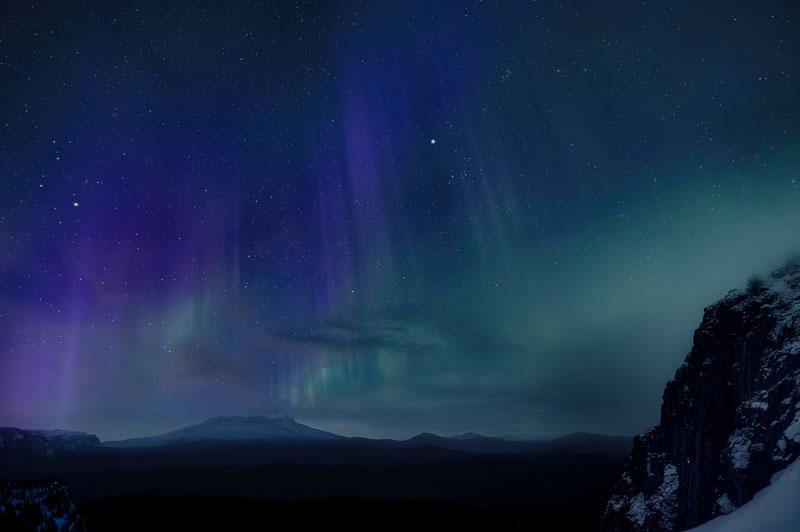
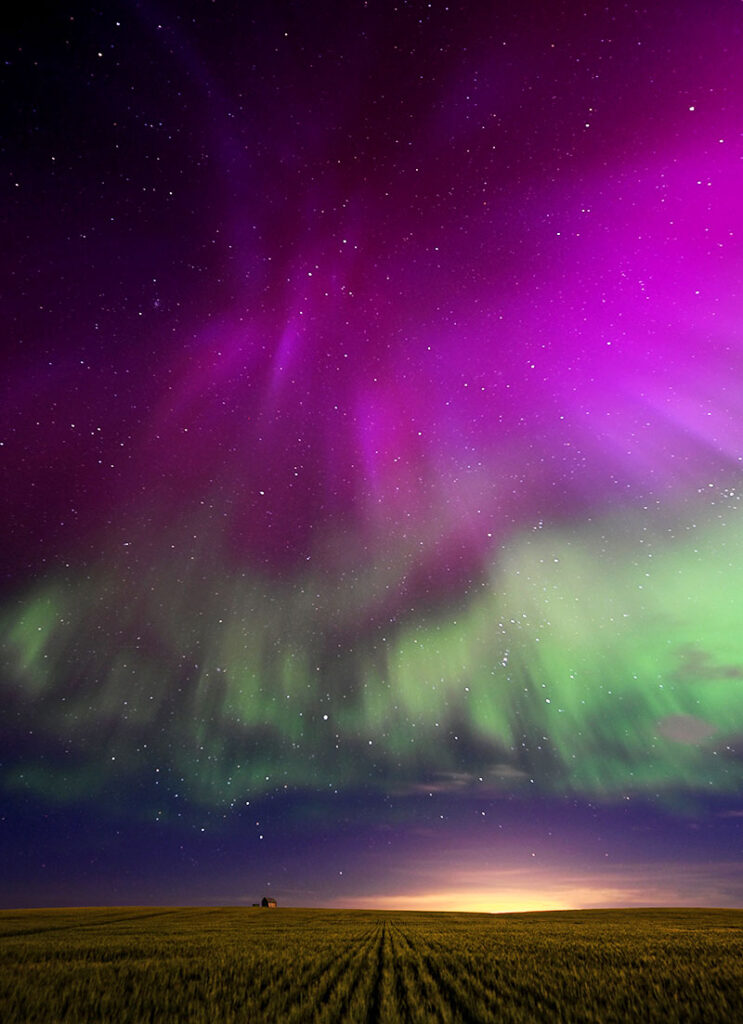 Purple Mist
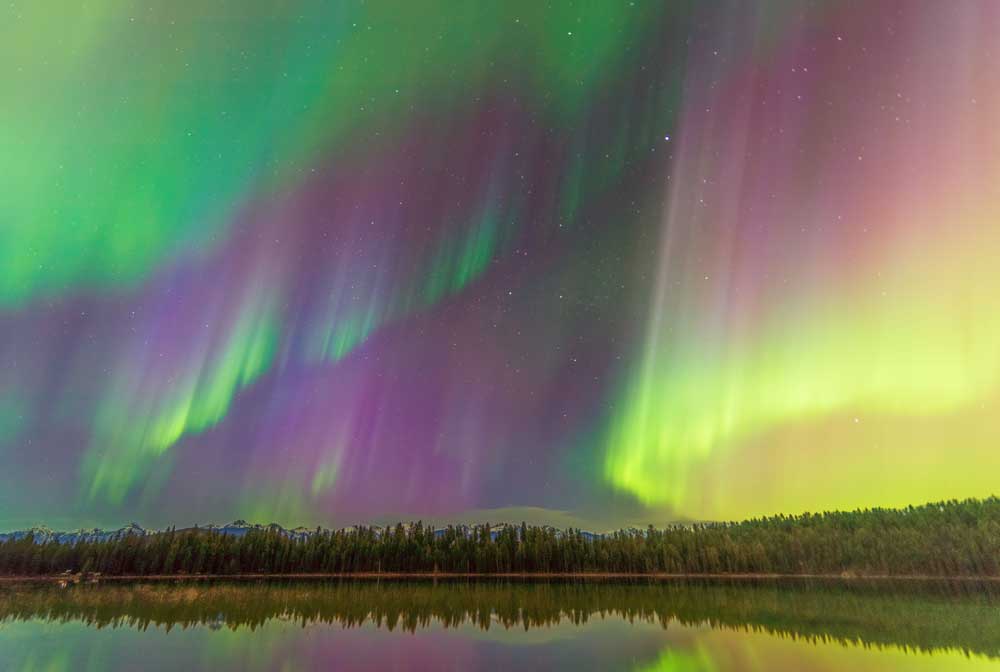 Aurora Curtains
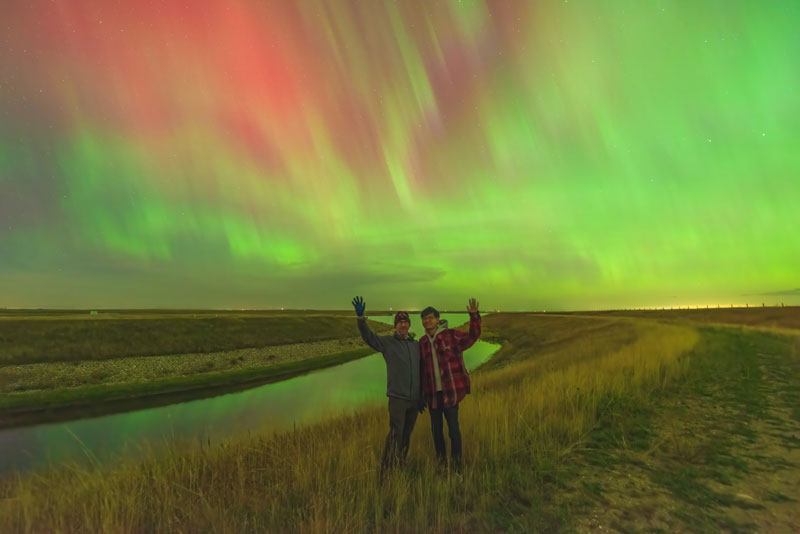 Twin Valley Aurora (G4)

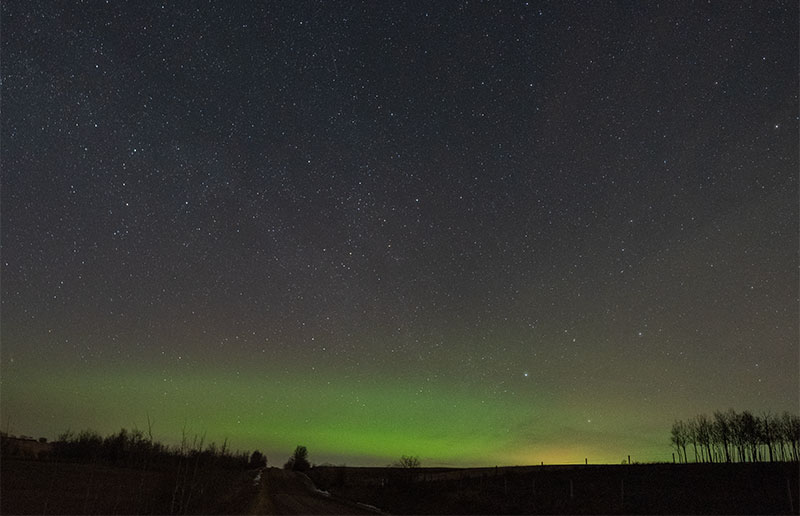
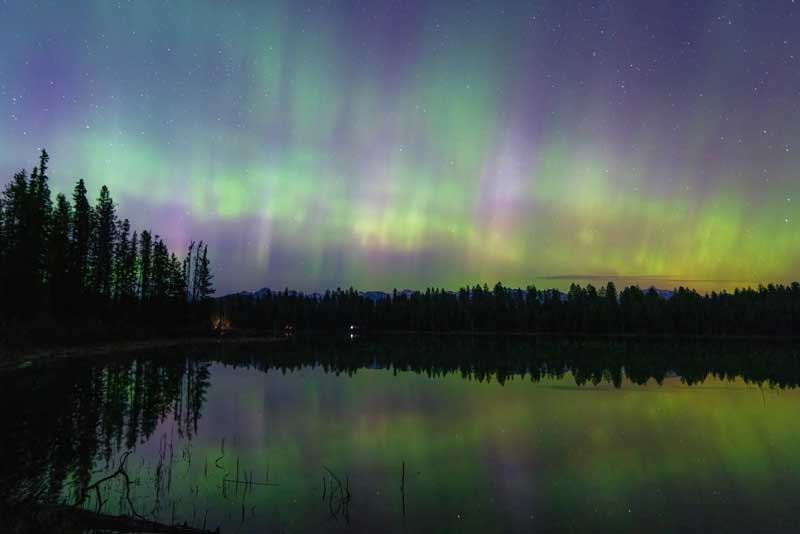

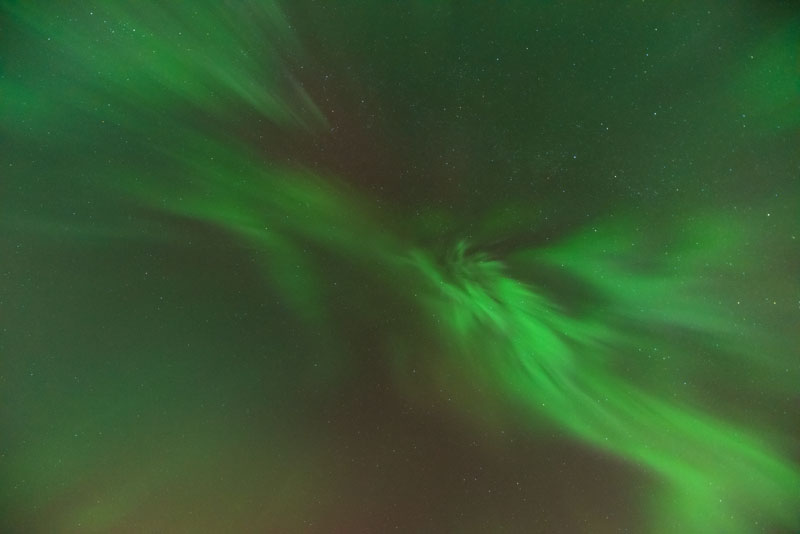
Steve
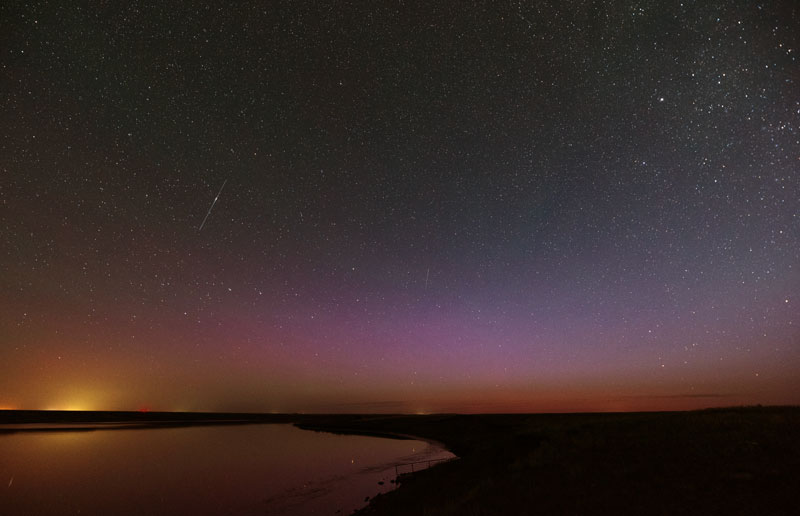
SARs Arc
FAQs about Auroras (courtesy of NASA)
The northern lights, or auroras, occur when high-speed particles from space – mainly electrons – collide with oxygen and nitrogen atoms in Earth’s atmosphere. These electrons come from the magnetosphere, the region of space influenced by Earth’s magnetic field. As the particles stream into the atmosphere, they transfer energy to the gas molecules, causing them to become excited. When the molecules return to their normal state, they release photons – tiny bursts of energy that appear as light. When billions of these collisions happen at once, the resulting photons combine to create visible light displays that illuminate the night sky in shifting patterns and colours. Because auroral light is much fainter than sunlight, it cannot be seen from the ground during the day.
Why Are There Different Colours?
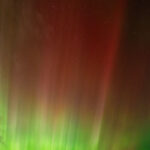
The colour of the aurora depends on the type of gas involved and the amount of energy released. Oxygen produces greenish-yellow or red light – the green hue being the most common. Nitrogen usually emits blue or purplish light. These gases also generate ultraviolet light, which isn’t visible to the human eye but can be detected by specialized satellite instruments.
Why Do Auroras Take Different Shapes?
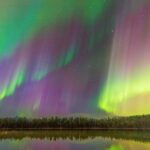
Scientists are still investigating this phenomenon. The shape of the aurora depends on where in the magnetosphere the electrons originated and the processes that caused them to enter the atmosphere. It’s common to see dramatically different auroral patterns over the course of a single night.
Where Can You See Auroras?
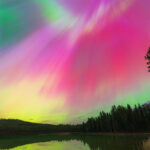
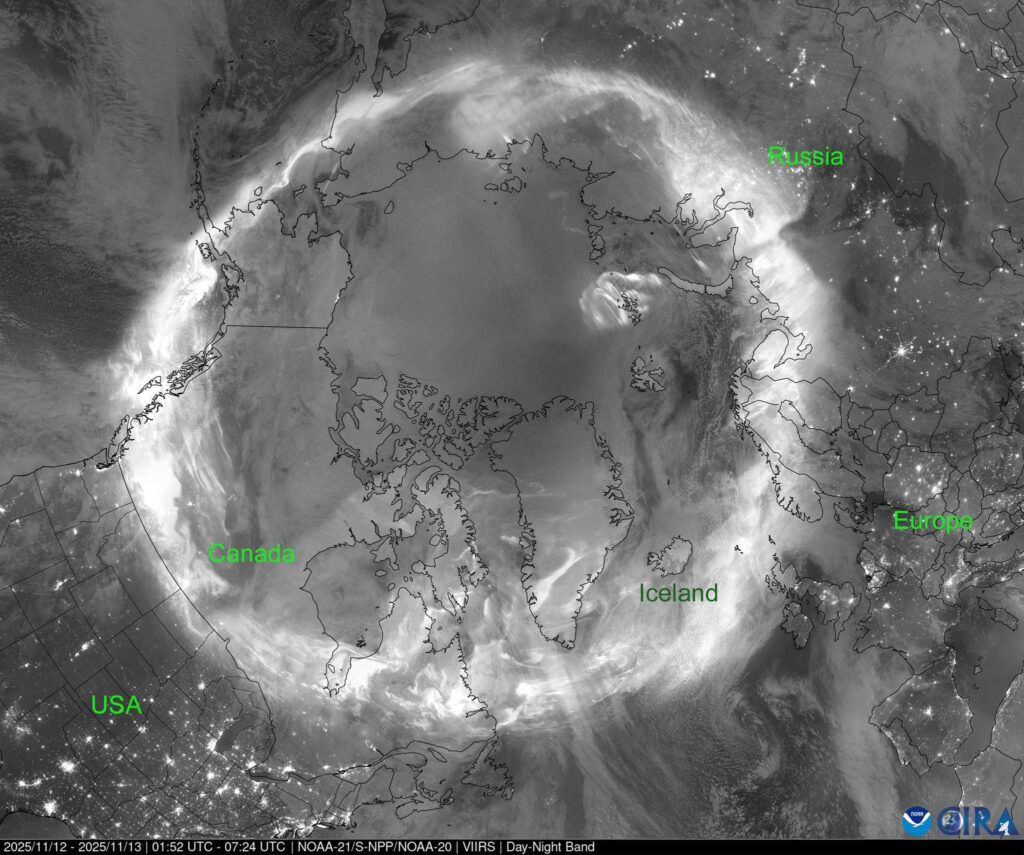
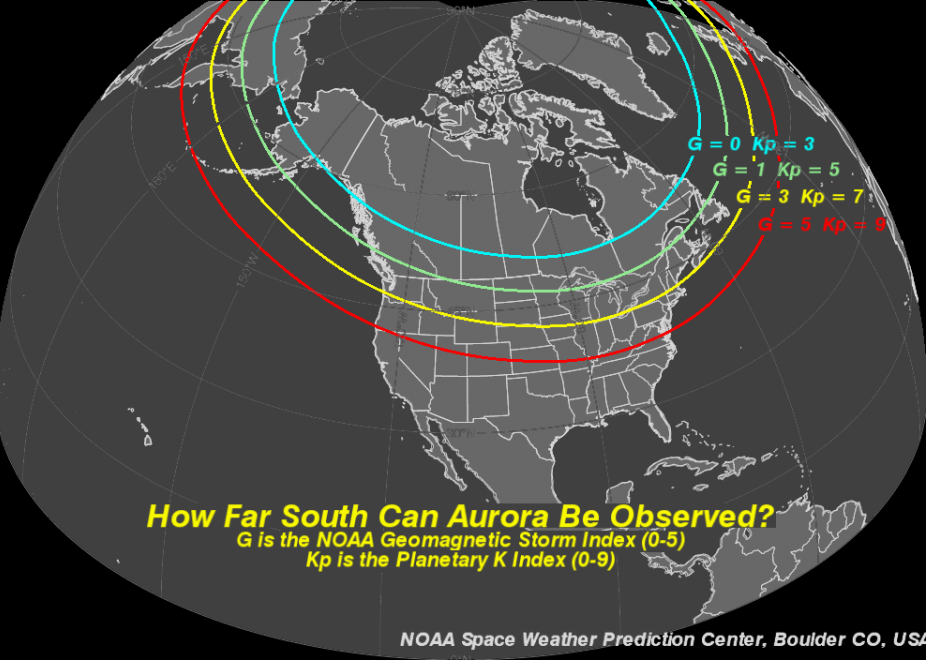
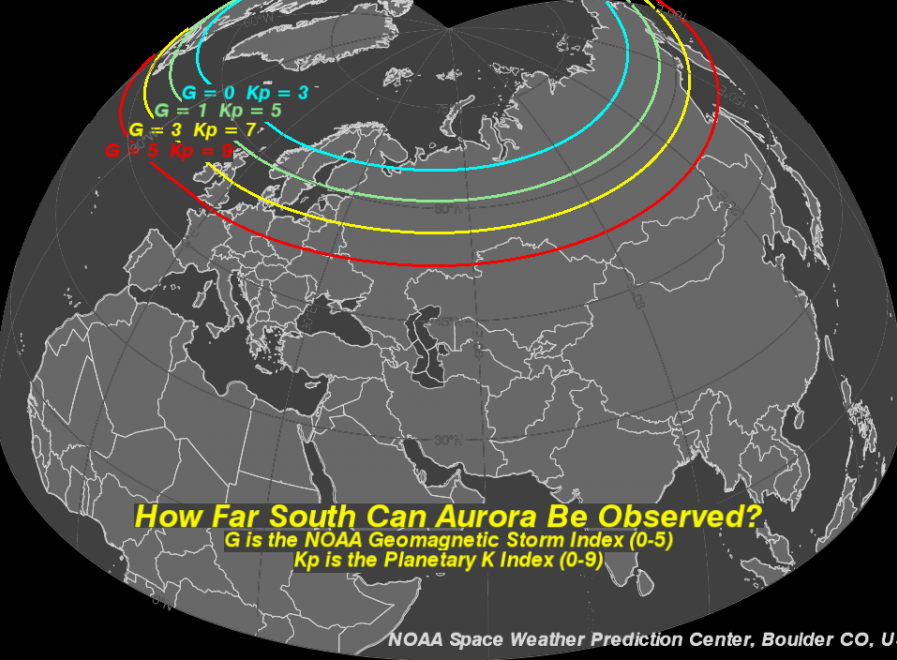
Auroras typically form in ring-shaped zones, called auroral ovals, surrounding Earth’s magnetic poles. While these complete ovals can only be observed from space, the best views from the ground occur (in northern regions such as Iceland, Alaska, Canada, Russia, and Scandinavia) during dark. Residents of the northern United States near the Canadian border often see auroras several times each year. In rare circumstances, they can be visible as far south as Florida or Japan, usually about once per decade. Aurora Borealis
Do Auroras Occur in the Southern Hemisphere?
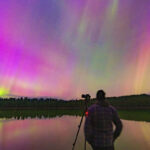
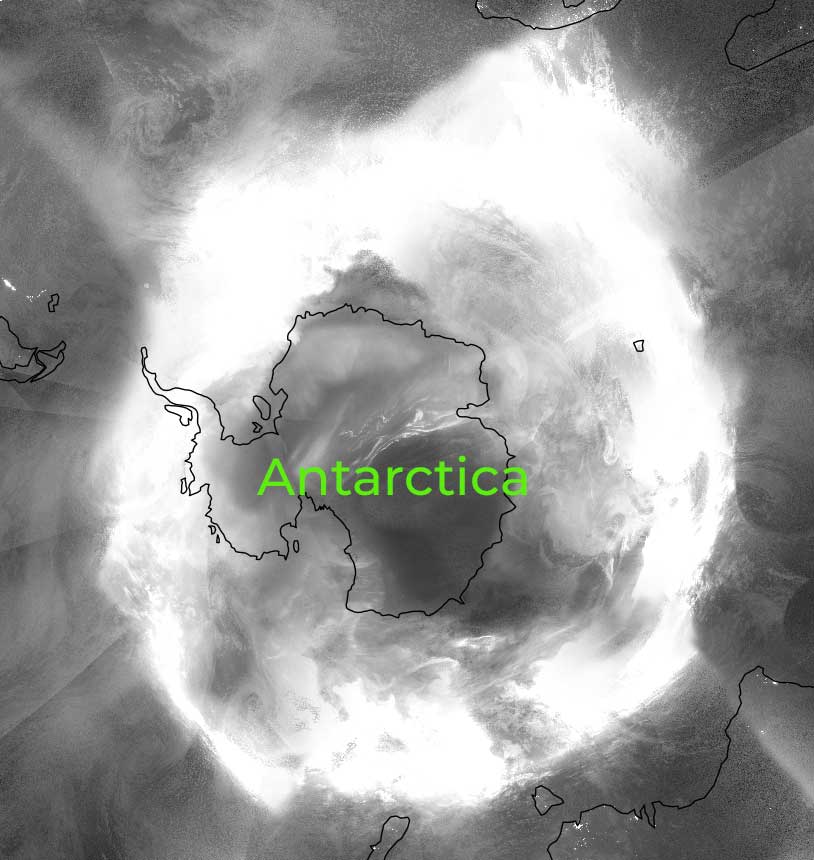
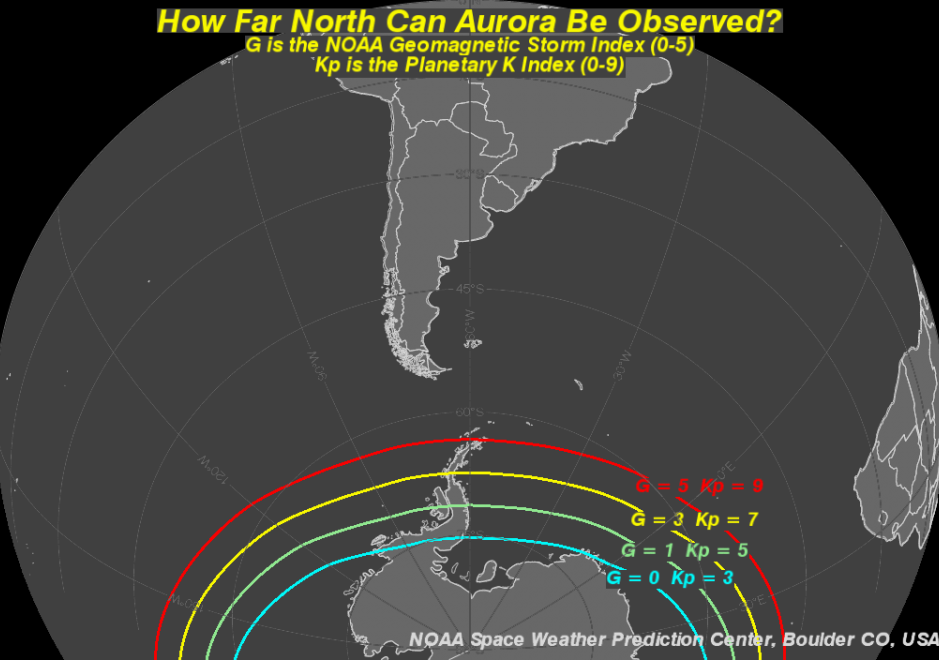
Yes. A similar auroral oval exists around the southern magnetic pole. Space-based images show the southern aurora displaying the same stunning colors and shapes as its northern counterpart. Aurora Australis.
In the Northern Hemisphere, the aurora appears as a circle, not a blanket. For example, a person standing at the north pole would need to look far south to see it, whereas a person standing on the Alberta/Montana border would look north north east.
Technical aspects of this aurora borealis shoot.
Two cameras. Both the Nikon D780 and the Nikon D810 shooting in full frame (FX). Single captures (2,200 in total). Some were later sequenced into time-lapse videos at 24 frames per second. For the D810, I mounted a Tokina at-X PRO 16-28mm F2.8 FX Lens and an intervalometer on a sturdy Manfrotto tripod. The D810’s 36.6 megapixel sensor captures excellent detail.
For the Nikon D780, I mounted my favourite wide angle lens, the Sigma 14-24mm, attached an intervalometer, and set it on a Manfrotto tripod. The D780’s 24.5 megapixel sensor captures light exceptionally well. Its viewfinder features touch controls, peak banding display for accurate focus, and adjusted angle preview screen.
All images shot in Manual mode…exposures ranged between 2 to 8 seconds with ISO ranging between 3200 and 500 at times as the aurora’s brightness varied greatly. All images were captured at f/2.8, shot in RAW format (NEF), and lightly edited using Camera RAW, Topaz De-noise, and Topaz Sharpen tools. Otherwise, very little editing was done.
