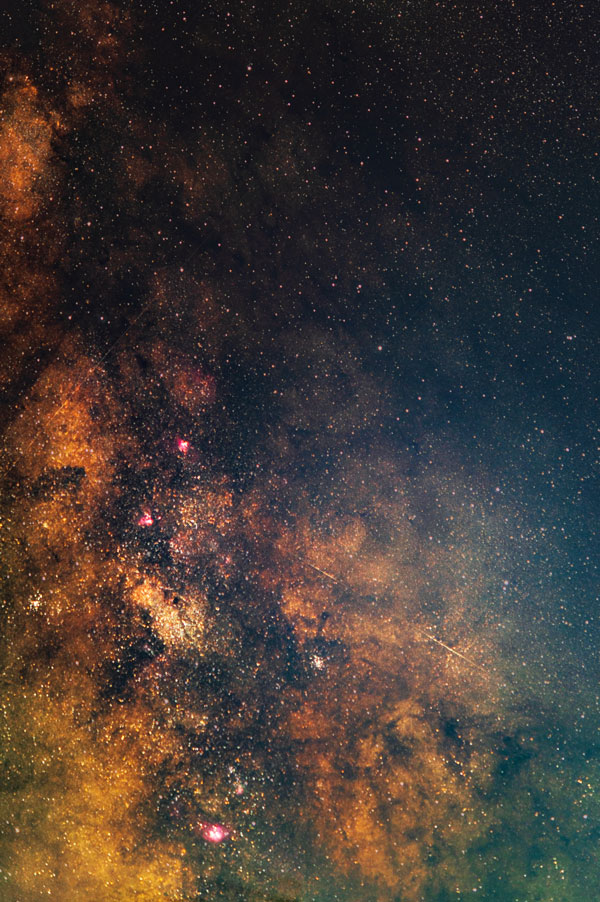
Dark Sky Photography Types
Milky Way, Aurora Borealis, and Star Trails offer a trio of dark sky photo options that you can achieve with even an entry level DLSR camera, a sturdy tripod, wide angle lens with an aperture of f2.8 or smaller, and clear dark skies.
Milky Way
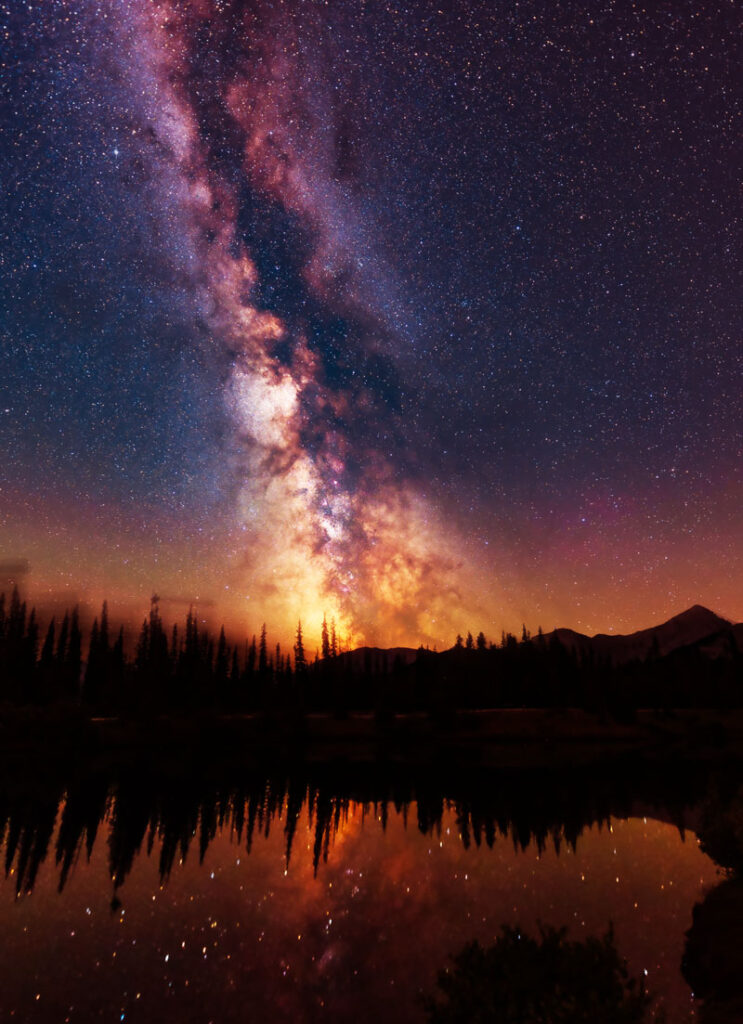
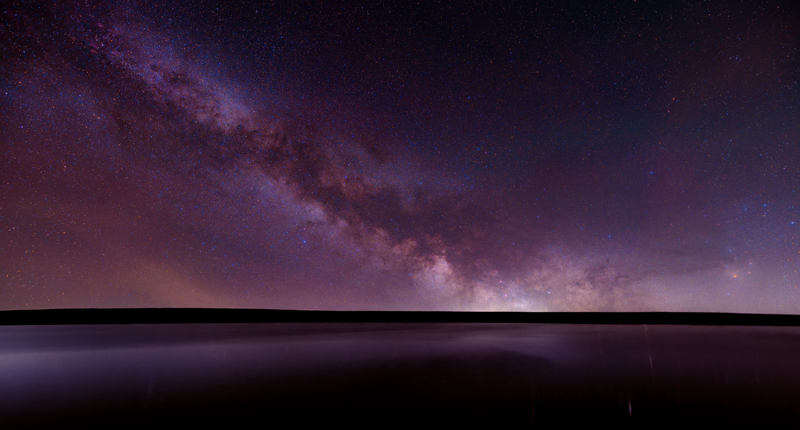
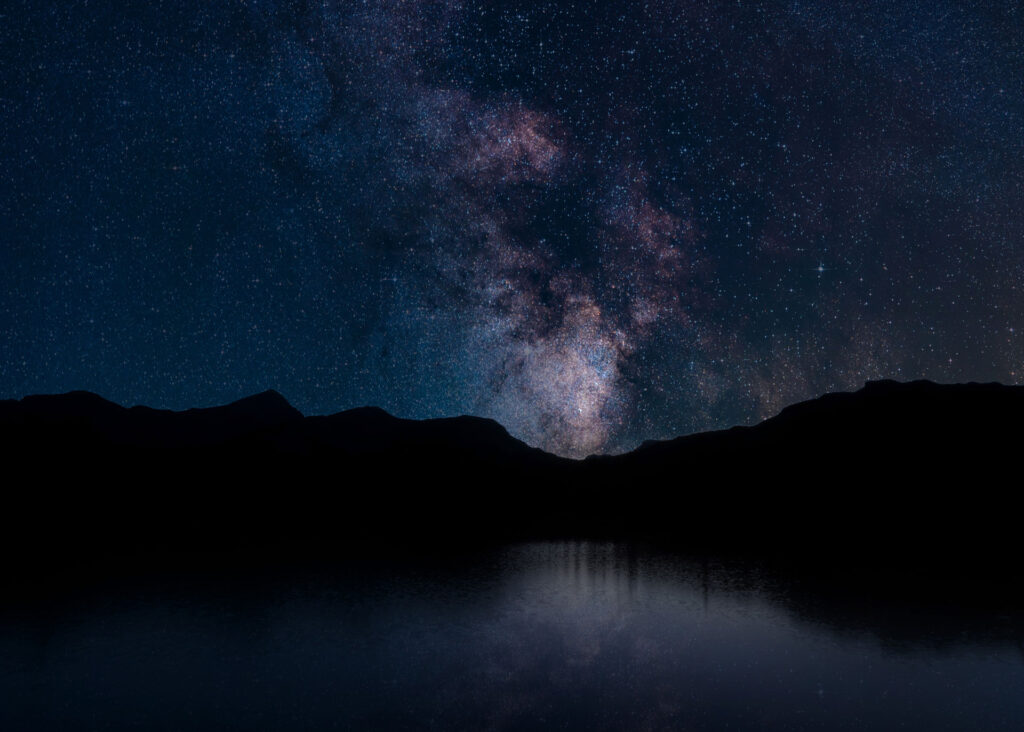
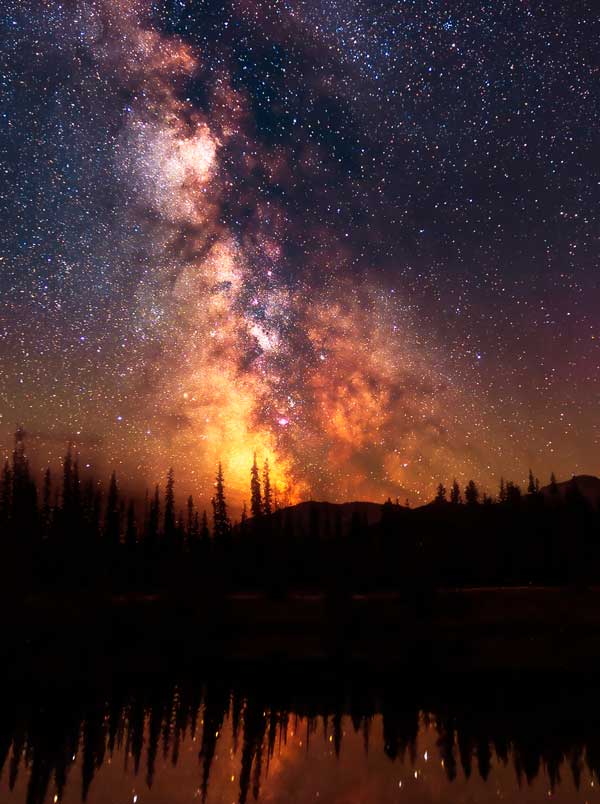
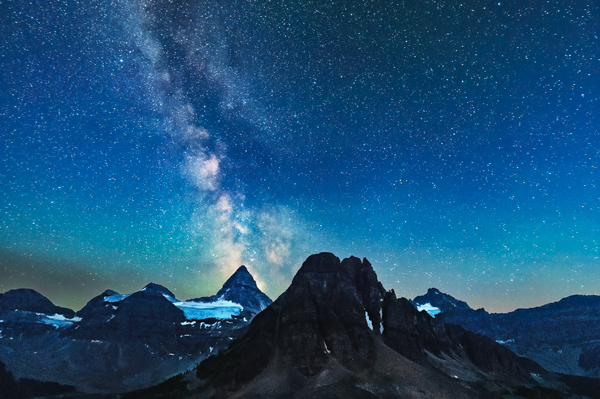
From North America, the milky way (our galaxy) appears in the southern to southwestern sky in the evenings and at night, steeply angled or vertical. The milky way is visible year-round, though the core is only visible from spring to fall. During the winter, the core sits below the horizon. In the early hours, the milky way can tilt horizontally. One day, I’ll capture that. perhaps from the Badlands of south central Alberta.
The blue, green, and yellow colours you can see along the horizon below are called AirGlow. It occurs when particles rise from the Earth into the atmosphere.
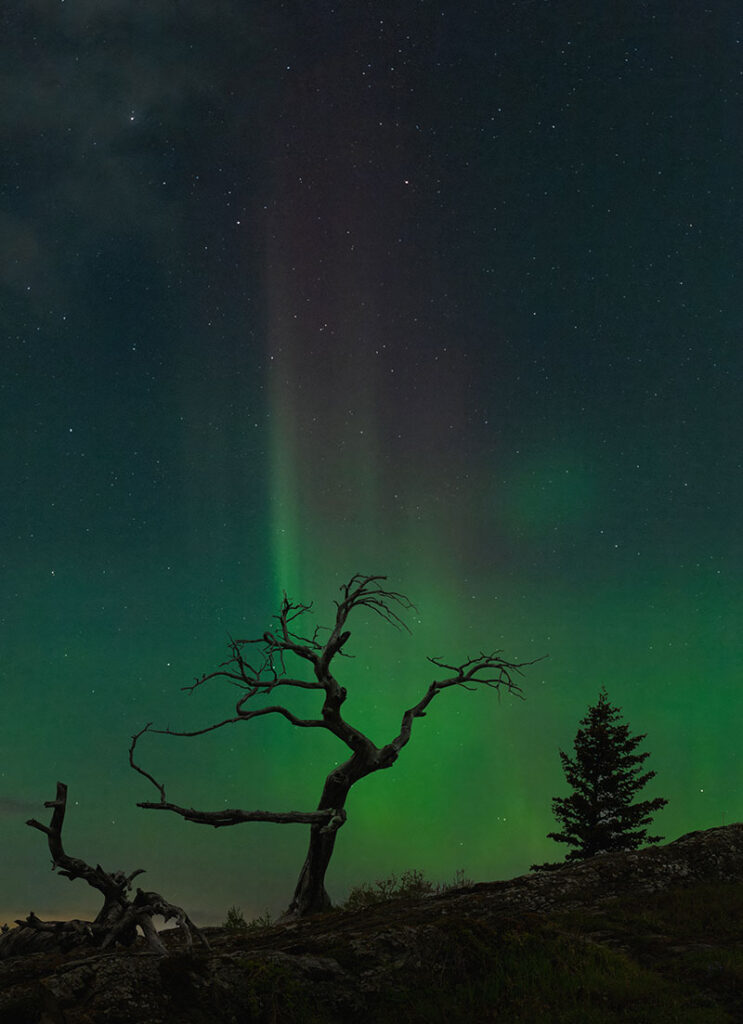
Calgary sits at 51º latitude, positioned roughly 1/2 way between the equator and Earth’s north pole. At this latitude, we can most easily see auroras of kp4 and higher. The kp scale spans 1-9.
An aurora at kp4 strength is the minimum I prefer in order to gas up the truck and head out with the camera. At kp4, the aurora presents as long arching green bands with occasional purples due to fluctuations in the strength. The image at the top of this section was approx. kp4.5.
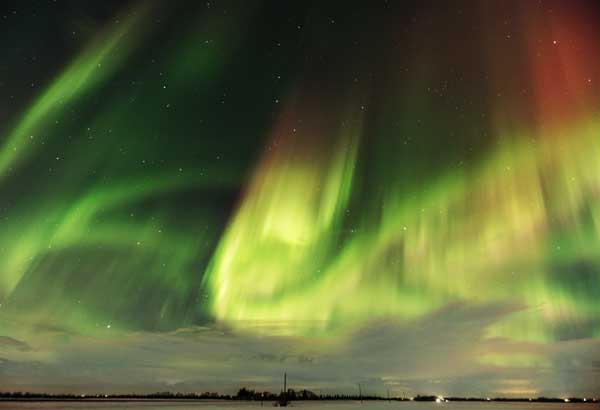
One of the highest kp aurora I’ve seen to date was kp7.5 in the early spring of ’23, shown here. Then again in May ’24.
Star Trails
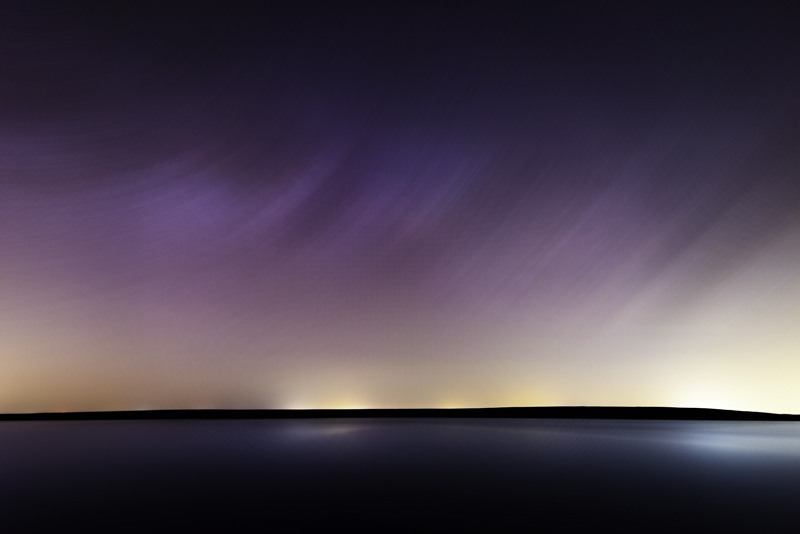
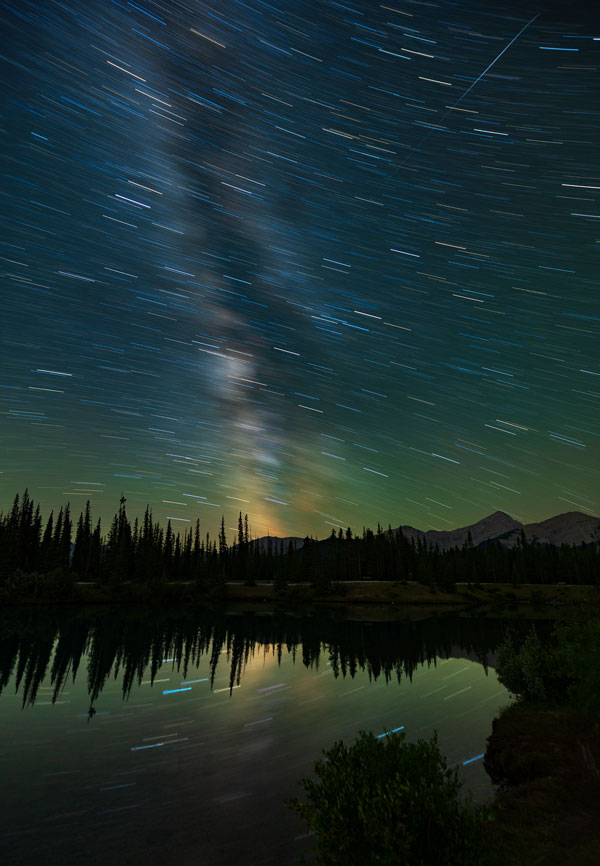
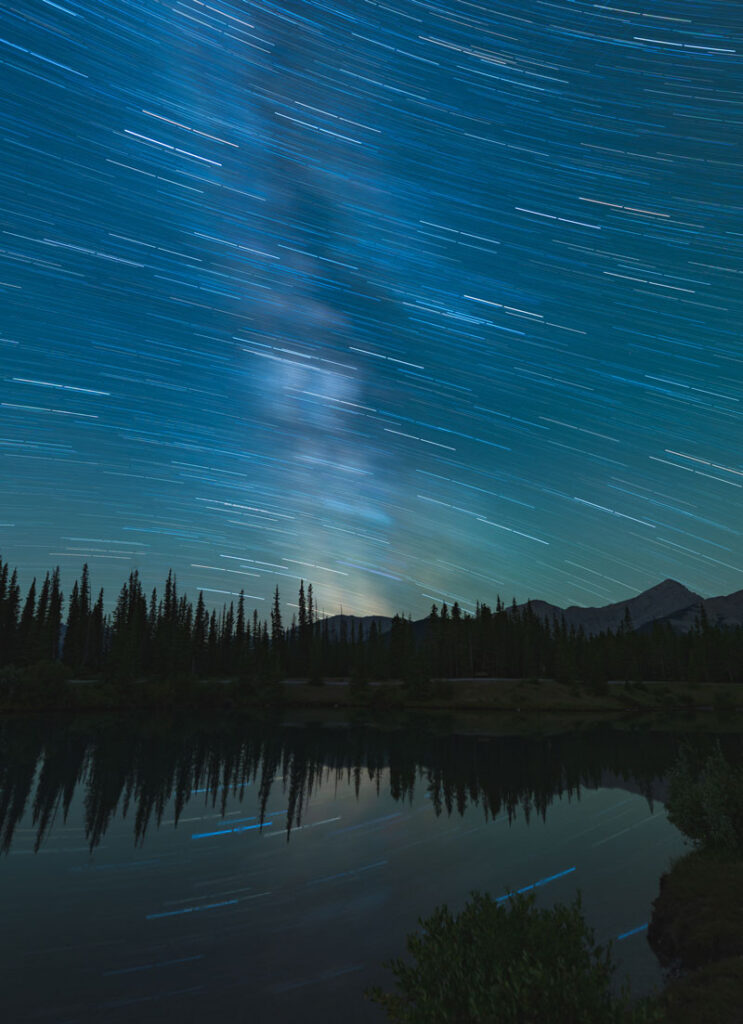
In my opinion, star trails are the unsung hero of dark sky photography. Technically quite easy to capture, they can be more challenging to process. Star trails are captured via long exposures usually stacked. As the Earth rotates, the stars blur then form longer trails as exposure time lengthens.
Some people prefer to shoot hundreds of short exposures to create trails and even convert those into a time lapse star trail video. Note that the direction of the stars depends on the angle of your camera. Point at Polaris, and you get a circular pattern. Point it elsewhere and you’ll see angles or even diverging trails like those shown in this video.
Auroras Light Up My Skies
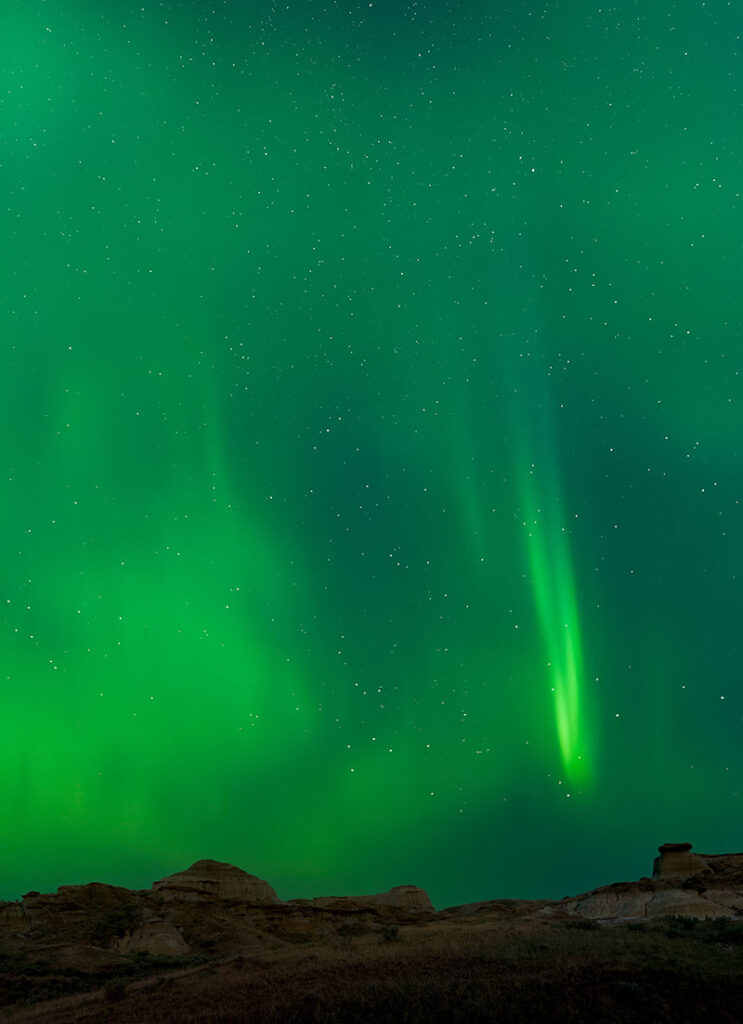
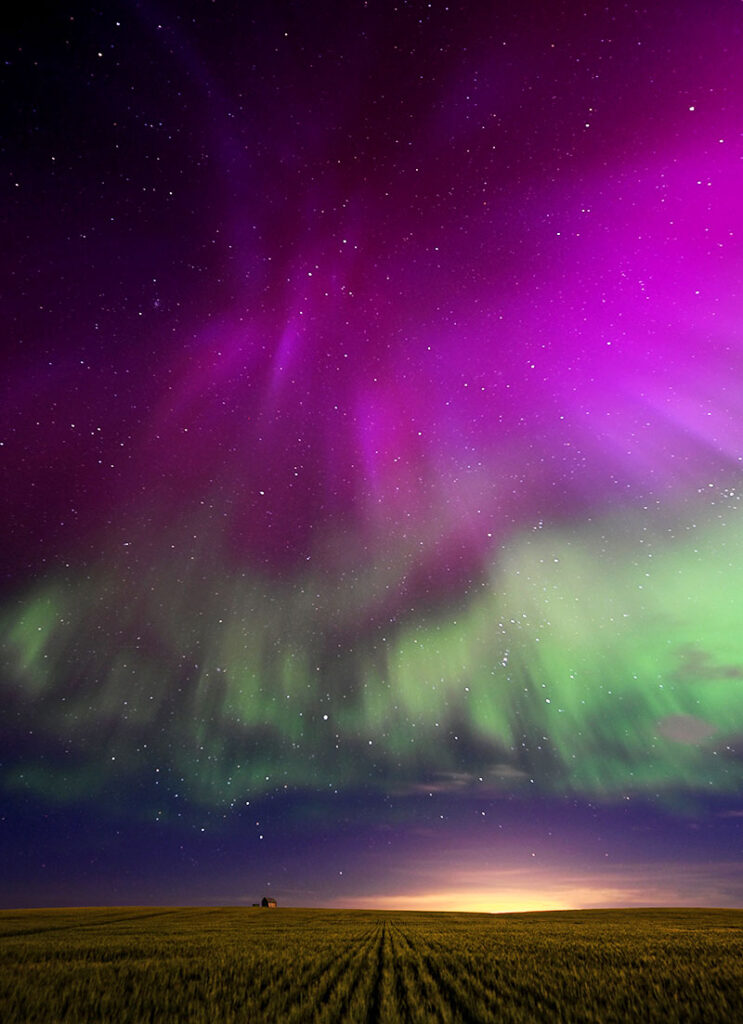
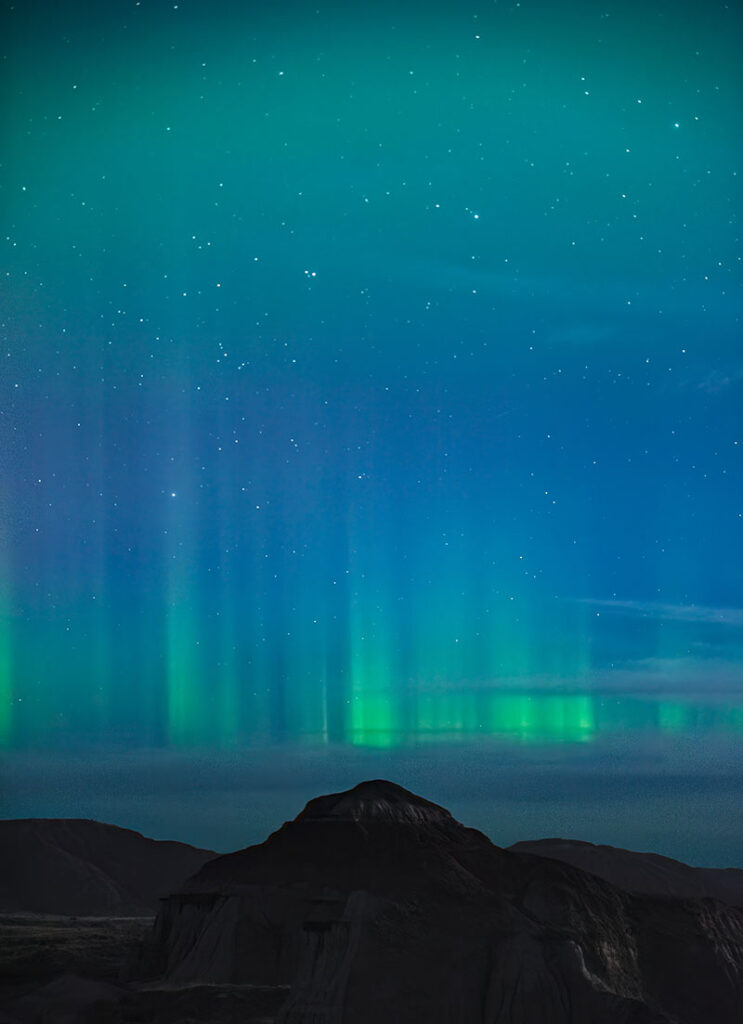
Join me under the stars!
I’m always down to share my experience, tips, and techniques. Photographing and editing the Aurora Borealis, Milky Way, Comets, Meteors, AirGlow, the Moon, and more using little more than a DLSR and remote shutter control on a tripod (optional star tracker) is a blast. Let’s talk.
Star Trails, Nebulae, and Meteors are fun to capture, too.

Four single exposure star trails over Forgetmenot Pond combined.
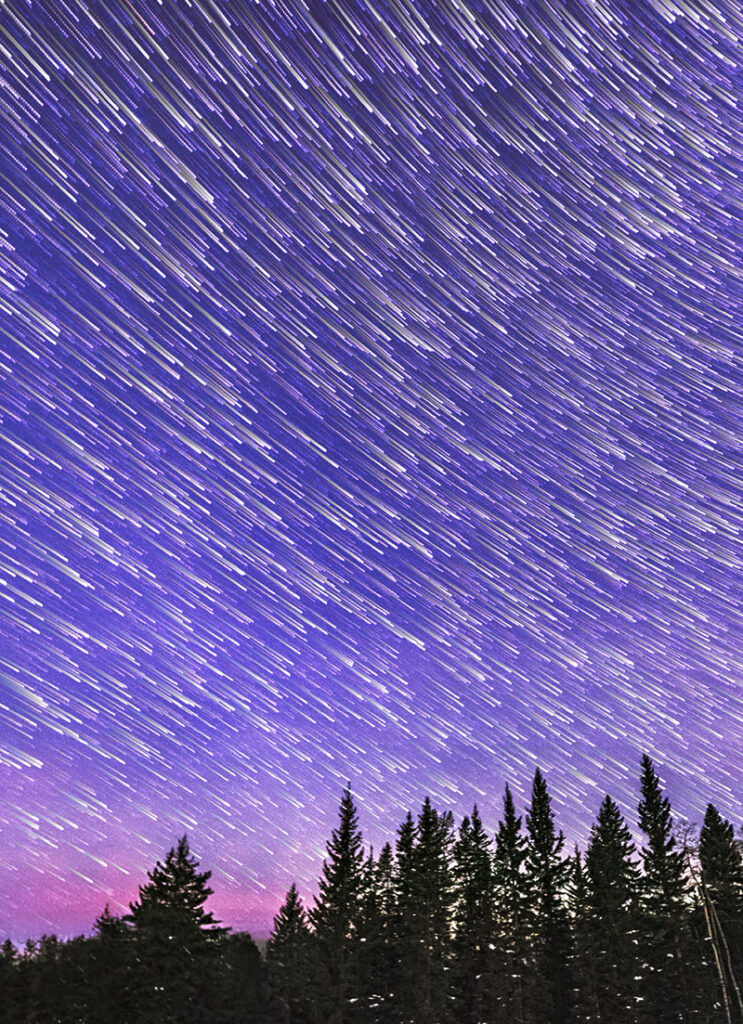
160+ still images combined in StarTrax software to create a comet star trails effect.
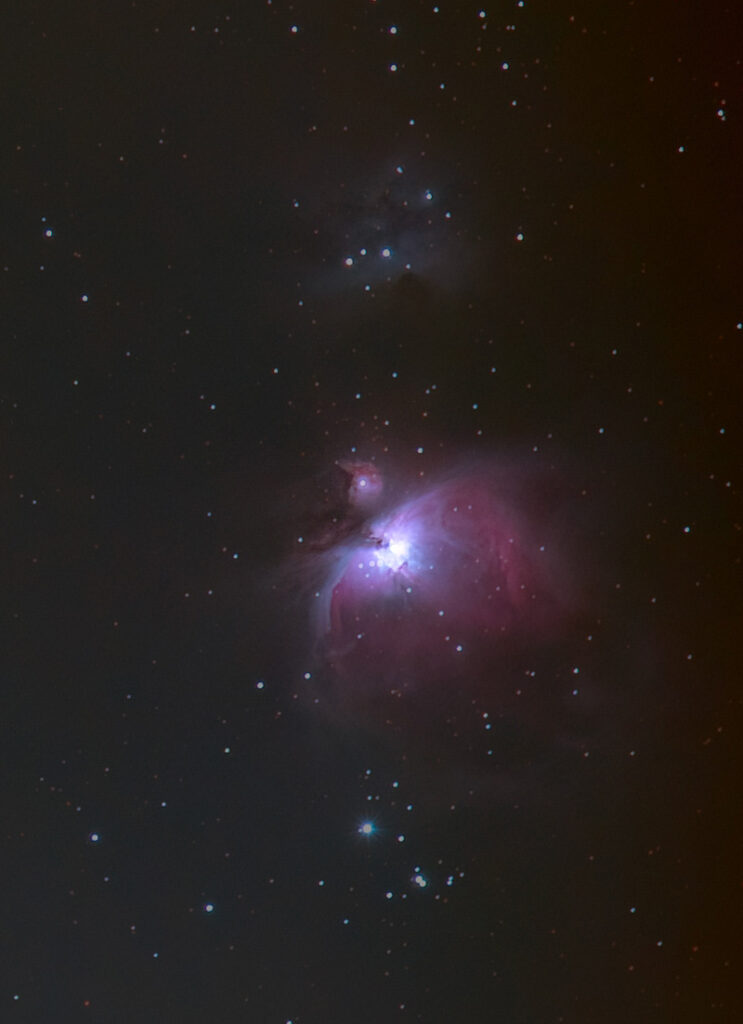
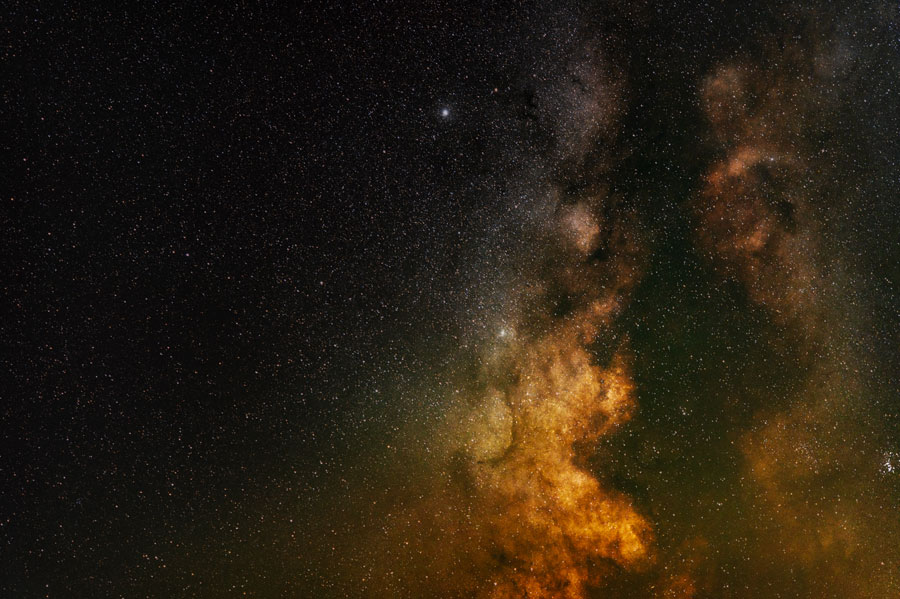
Orion nebula shot on a DLSR atop a tripod in a farmer’s field. 150sec f/4 200mm
Went looking for the Geminid Meteor shower, got satellites instead.
Some of the technical aspects of dark sky photography.
Camera Gear
As the saying goes, the best camera is the one you have with you. I keep two cameras in my kit (both Nikon DLSRs) and at least two FX lenses so I can shoot more than one object or scene at a time if I want to.
The D810’s 36.6 megapixel sensor captures excellent detail, and its handle grip holds a second battery which is very convenient especially when shooting remotely or on a cold night.
There is no peak banding display built into the D810, so you’ll need to put a little effort into achieving pinpoint focus. One trick I use is to shine a bright flashlight on a distant tree or far away object, focus on that, and then turn my camera towards the sky. Having set the focus this way, your camera will remain in focus (to infinity and beyond!) even if you zoom in/out on the stars – just as long as you don’t touch the focus ring.
The D780‘s 24.5 megapixel sensor captures light exceptionally well (video, too) and its rear viewfinder features easy-to-set touch controls along with peak banding displayed for easy and accurate focus. The live preview shows you the effects of adjustments without having to do test shots. Shooting intervals (for time lapses) requires only a single second between exposures, even if you’re doing 30 seconds or more in exposure length.
Lenses
My go-to lenses for milky way and auroras are a 14-24mm Sigma wide angle lens and a Nikkor 60mm macro lens. Both have f/2.8 apertures which is great for capturing both faint starlight and colourful auroras. Next in my dark sky kit is a 70-200mm Tamron lens (f/2.8 as well) for specialized shots such as close-ups of the milky way or zoom in on nebulae (if you can find them…they’re super small).
Star Tracker
A star tracker is essential gear for long exposure photography when you want pinpoint focus. Star trackers rotate opposite the rotation of the Earth allowing your camera to remain fixed on the stars without experiencing blur (star trails).
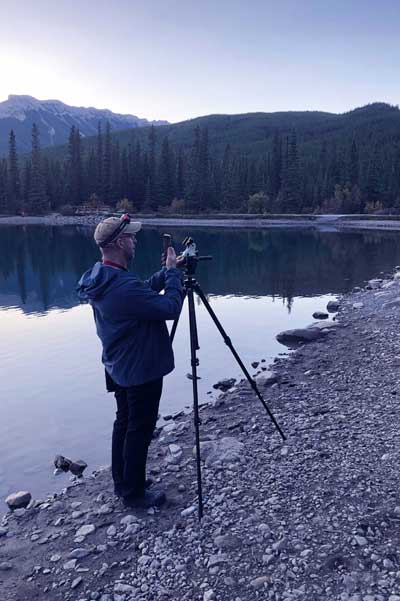
I’ve equipped my Star Watcher Star Adventurer 2i tracker (WiFi app controlled) with key accessories such as an EQ mount, counter weight & bar, declination bracket, and an additional ball mount to more easily point my camera at the desired spot. It all sits on a very sturdy Manfrotto heavy video tripod. That way, it’s braced against the wind. Without these accessories, taking long exposures of the night sky (without blur) is near impossible.
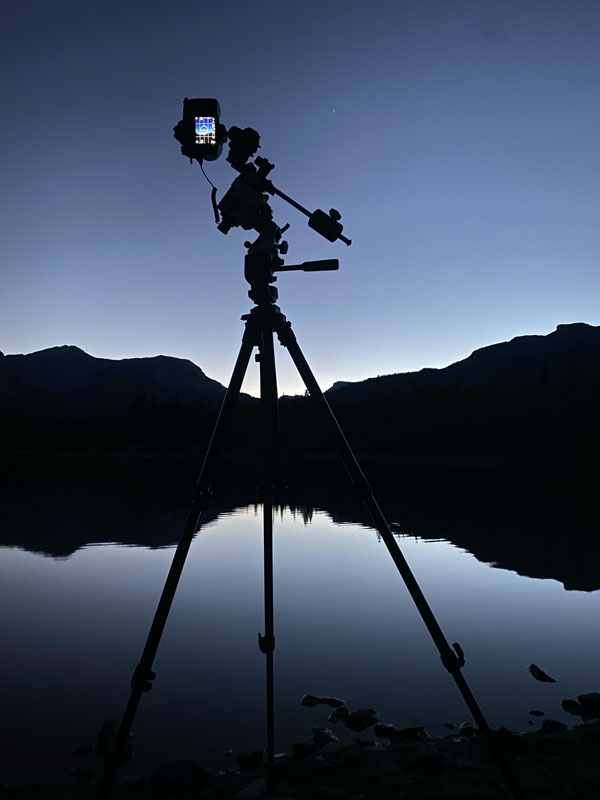
Star trackers work by fixing on a spot in the sky and then rotating to counter the spin of the Earth. It’s very much like how a tether ball rotates around its pole…except the tracker is the ball, the top of the pole is Polaris and the pole goes through the middle of the Earth.
Aligning star trackers can be tricky until you’ve done it a few times. If you’re in the Southern hemisphere, you’ll need to point to an area between certain stars as Polaris will not be visible from down under.
Many apps exist for dark sky enthusiasts. Some of my faves include Ephemeris (positioning of the Sun, Moon, Milky Way as the Earth rotates), PhotoPills app has Night AR to help you plan your shots, SpaceWeatherLive forecasts Auroras and shows sun activity, and Windy forecasts cloud cover/wind speeds/directions.
Tips
Shoot sky and foreground separately at the same ISO (to match image grain) and assemble them in post processing
Shoot in RAW format to capture as much colour information/depth as possible
Use a sturdy tripod to prevent movement from wind (pan-head mounts are less likely to flex with the wind, and you could mount directly to the tripod if desired)
Most people use a wide angle lens, though with the right setup (star trackers) you can try out longer lenses, even zoom lenses
You’ll want to stop condensation from forming on your lens. Check the dew line forecast to know when dew is likely to form (elevation and terrain factor in)
Bring along a power brick (or two) so you can charge your cameras and other devices (lens warmer, phone…) while shooting remotely
Most important, dress for night time weather, especially in colder months when temps drop
Improve your night vision with a red light headlamp instead of white lights/flashlights
Post Processing Dark Sky Photos
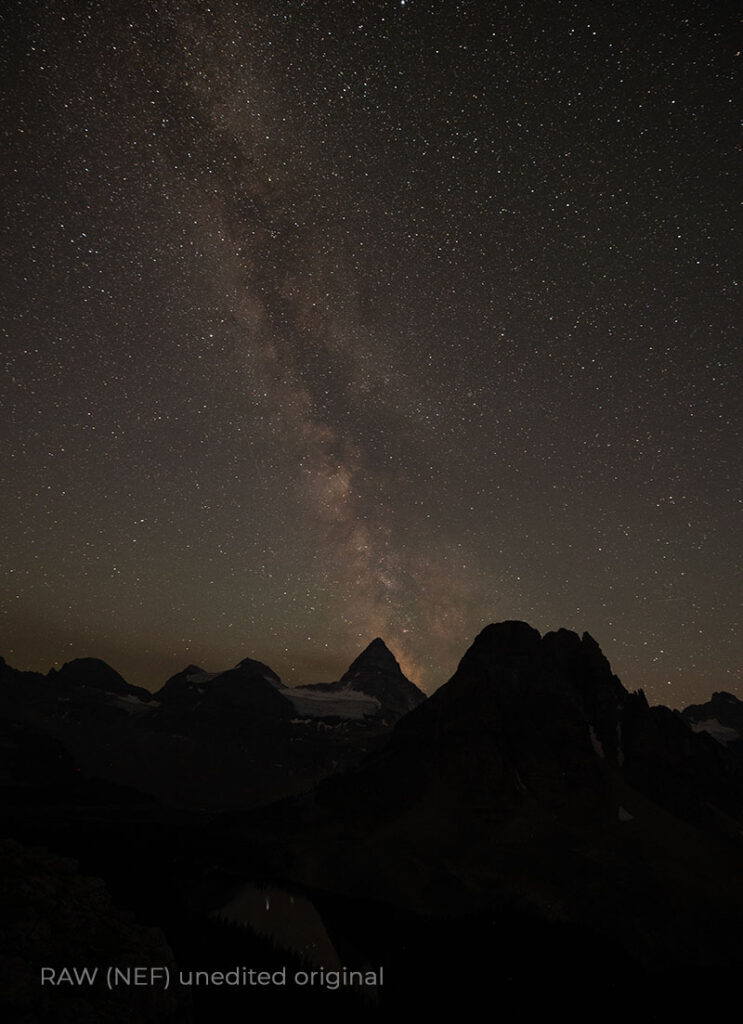
Capturing night photos is only half the task. You’ll want to process your RAW images to set colour balance, neutralize the deep sky backgrounds, eliminate light pollution, and more.
Image editors like Adobe Photoshop and Lightroom allow you to edit images shot in RAW format. Use whichever apps work for you. RAW formats are highly recommended as they collect all the light information available to your camera sensor, uncompressed. Compare this unedited image of Mount Assiniboine with the edited version at the top of this page. All the colour and light information is there…it just needs to be brought out in processing. Finally, save the edited file as JPG (web) or TIFF/PSD for printing.
There’s an adventure aspect of capturing night skies. I’m often alone, in the dark, in the wilderness, in the cold, sometimes accompanied by grizzlies (just out of sight of course). I can see why it’s not everyone’s cup of tea. I’ve found no better place to connect with nature, far from city noise and bright lights that hide the stars. In the dark is where our night vision starts to work. On clear, moonless nights trillions of stars come into view, along with planets and even other galaxies.
I’ve found that my night vision kicks in roughly 15-30 minutes after I’ve turned off all my lights – including my iPhone screen. This is when the 200 billion stars of our universe start to come into view.
Randy Milanovic is based out of Calgary Alberta Canada where The Canadian Rockies meet the Prairies. Thankfully, Bortle 1 and 2 Dark Skies are accessible within a 90-minute drive.
