Bring photos to life through time-lapses.
It’s one thing to capture a beautiful moment and another to capture hundreds of them.
Time-lapses are one of my favourite ways to photograph the aurora. the technique is to shoot at least 30 minutes of still images, then merge them into a time-lapse. that way you have each frame as a high quality image and a time lose of the aurora’s motion.
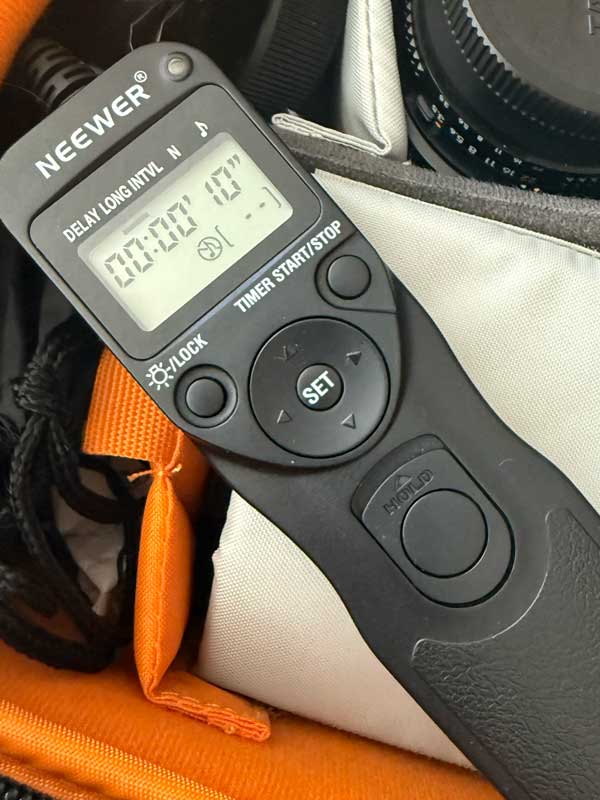
Time lapses can be created many ways. One of the most common is utilizing the time-lapse feature on your camera to create a movie for you via the built-in intervalometer (timer). Another is to photograph each frame using a connected remote timer/intervalometer (and a tripod) to more precisely set capture cadence, exposure length, and the amount of time you want to delay (interval) between each exposure. The first method results in a video file. The second method results in a high quality image of each frame that you can edit to remove airplanes, satellites, and colour correct if desired, then open as a sequence, and export as a video.

Join me under the stars!
I’m always down to share my experience, tips, and techniques. Photographing and editing the Aurora Borealis, Milky Way, Comets, Meteors, AirGlow, the Moon, and more using little more than a DLSR and remote shutter control on a tripod (optional star tracker) is a blast. Let’s talk.
Technical aspects of these time-lapses.
Shot in RAW format (NEF), images are edited and composited in Photoshop, audio (optional) added in iMovie.