Photographing
the Milky Way
Milky Way photography isn’t quite the same as shooting sunsets or daytime landscapes. Sure, those skills help (you’ll need a good grasp of exposure, composition, and camera settings) but the real challenge (besides clouds) for the night, is time. Not just exposure time, but timing in every sense.
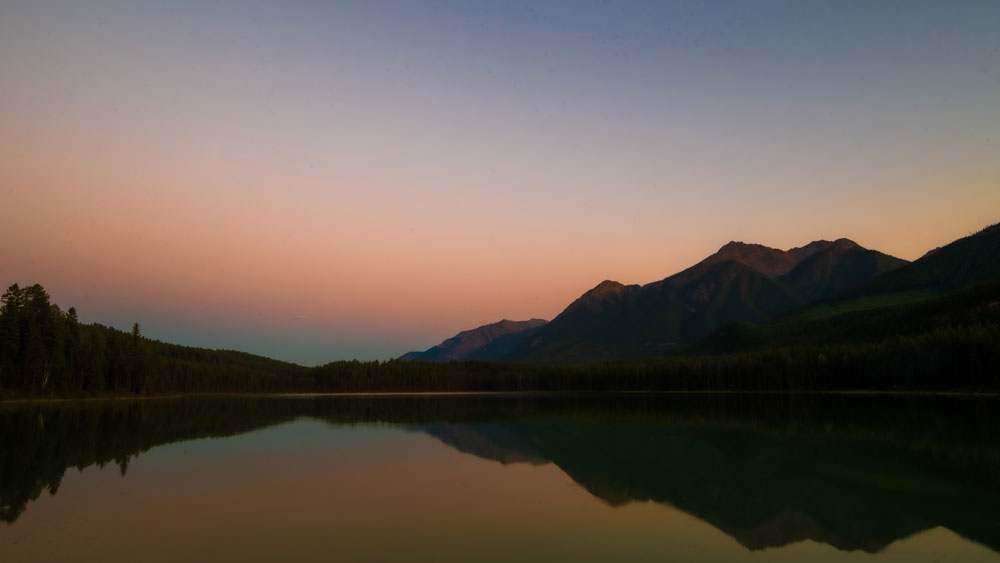
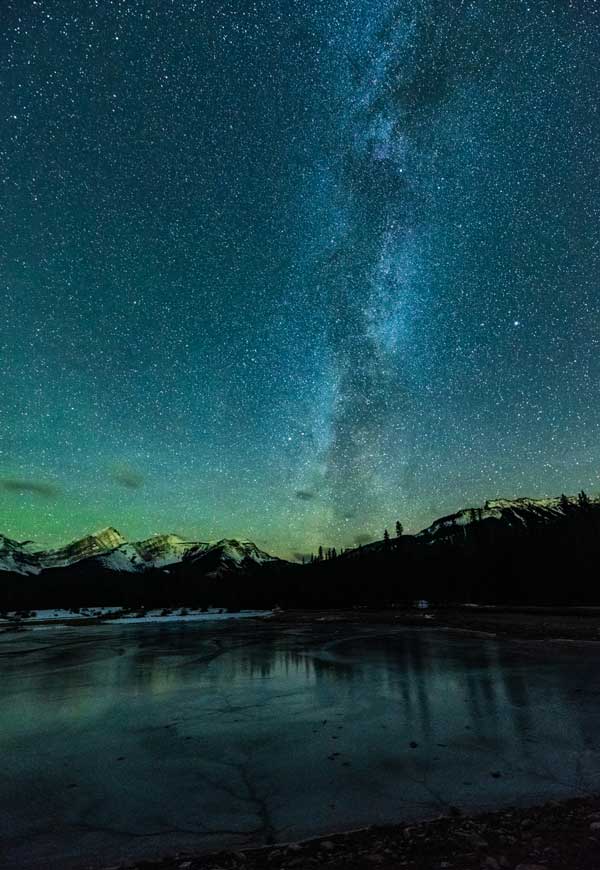
Shot around 9:00 pm (July 29, 2025), light haze from wildfire smoke dimmed and browned blue hour.
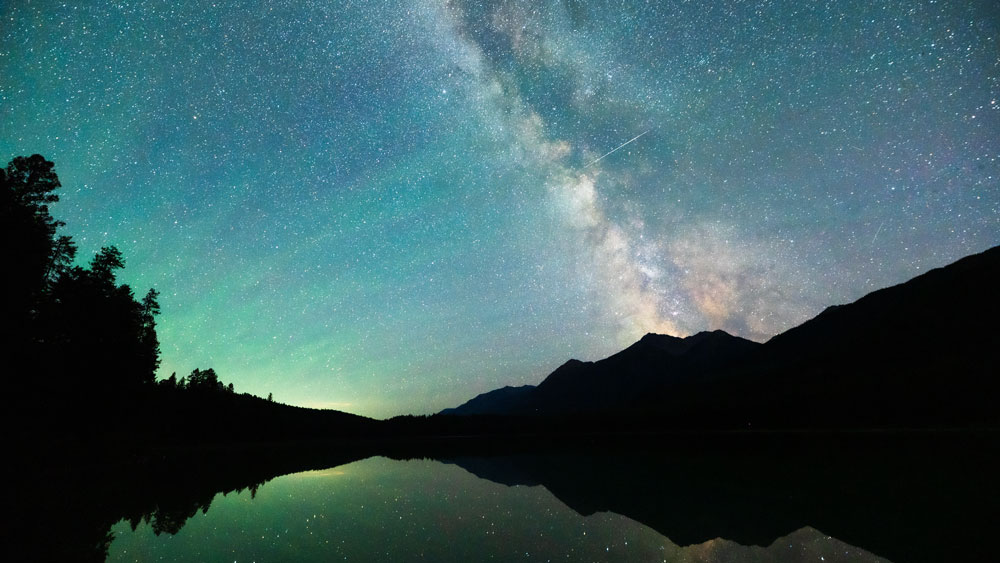
At around 12:30 am (Aug 1, 2025), Green air glow and a beautiful meteor crossed the Milky Way.
1
Shutter time
Expose long enough to gather enough star light.
2
Time of night
It has to be dark enough to see the stars clearly.
3
Time of month
The moon can be too bright to see stars well.
4
Time of year
The core of the milky way isn’t always visible.
5
Time of shoot
When the core is in a good position for your shot.
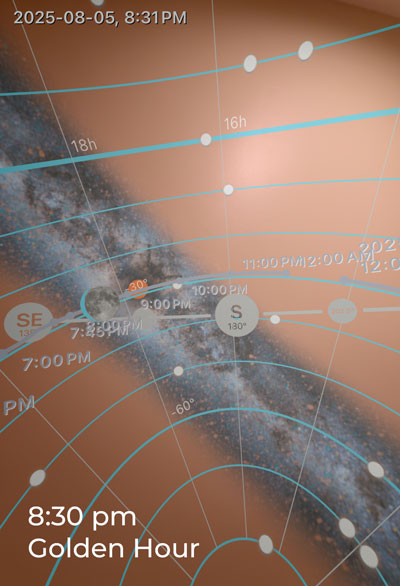
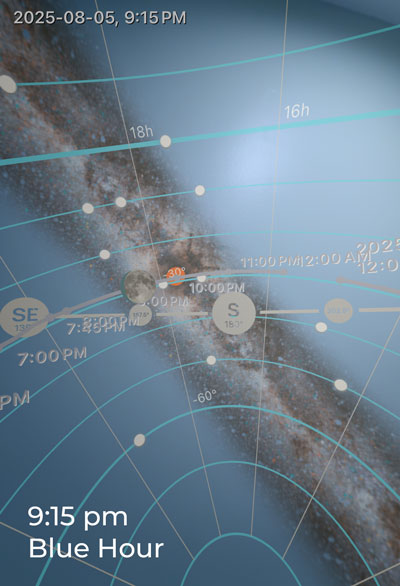
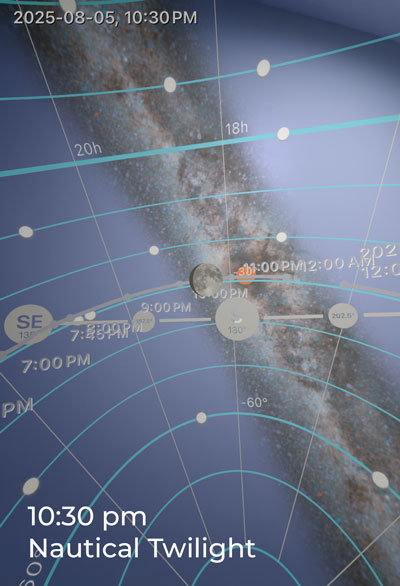
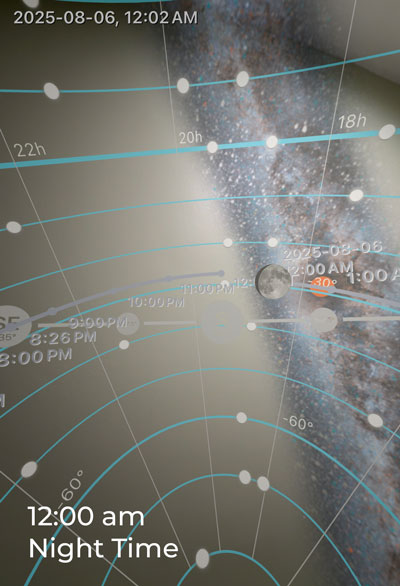
One of the fun things about night time photography is that the colour of the sky is always changing. Contrary to popular belief, the sky is not black. Human eyes can see golden hour (around sunset/sunrise), blue hour (transition to darkness when stars become visible), and twilight (nighttime). Cameras can see much more. As a result, night photos can offer up gorgeous colours in an assumed dark place.
Beyond time, we need to consider our equipment.
Camera
Any DLSR will work. A full crop FX will give you a larger image to edit.
Lens
You’ll want a lens with a big aperture between f1.4 and f2.8 to gather light.
Tripod
Long exposures mean the camera must remain perfectly still.
Intervalmeter
A remote trigger helps you to avoid touching/shaking the camera.
Star Tracker
Counters the rotation of Earth, allowing for long exposures.
Starting out, you’ll want to use a wide angle lens. I keep two wide lenses in my kit: 14-24mm and 24mm (f2.8 apertures). At 14mm, I can see a lot of sky. That’s great for catching meteors and big landscapes. The 24mm narrows the field of view a big, keeping mountains and foreground in view. Just watch for blurring (coma) at the outer ends of your lenses.
A sturdy tripod is essential so your camera doesn’t move in light winds. Nothing ruins a shot faster that blur from movement.
Use manual focus on a distant light source to focus in the dark. Ideally a star, or a porch light on a house far away. The finer the dot, the better your focus.
Plan the shoot. My fave apps for planning night photos include: PhotoPills (for the technical details), Windy (wind & clouds), Ephemeris (Milky Way position), Lunar Phase (moon phase & brightness), Maps (location), and the Weather app.
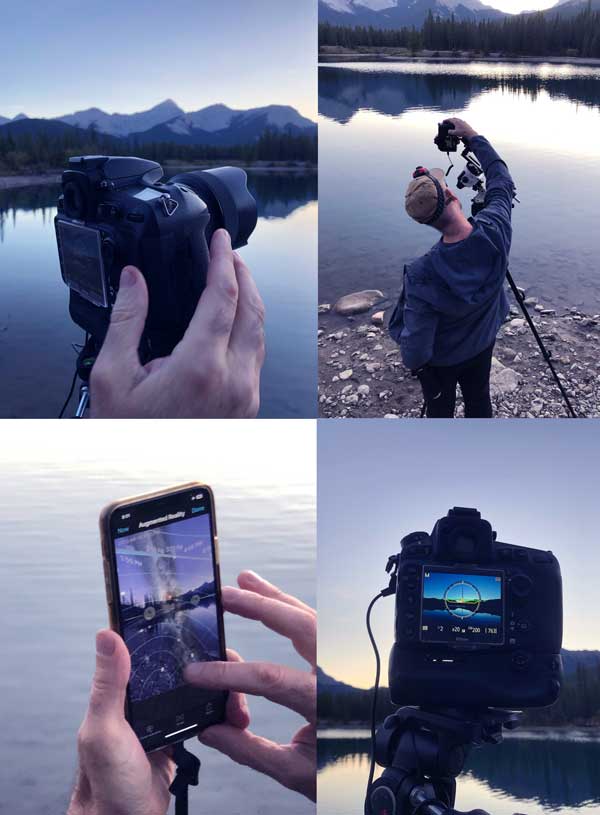
Technical Aspects of Shutter/Exposure Time
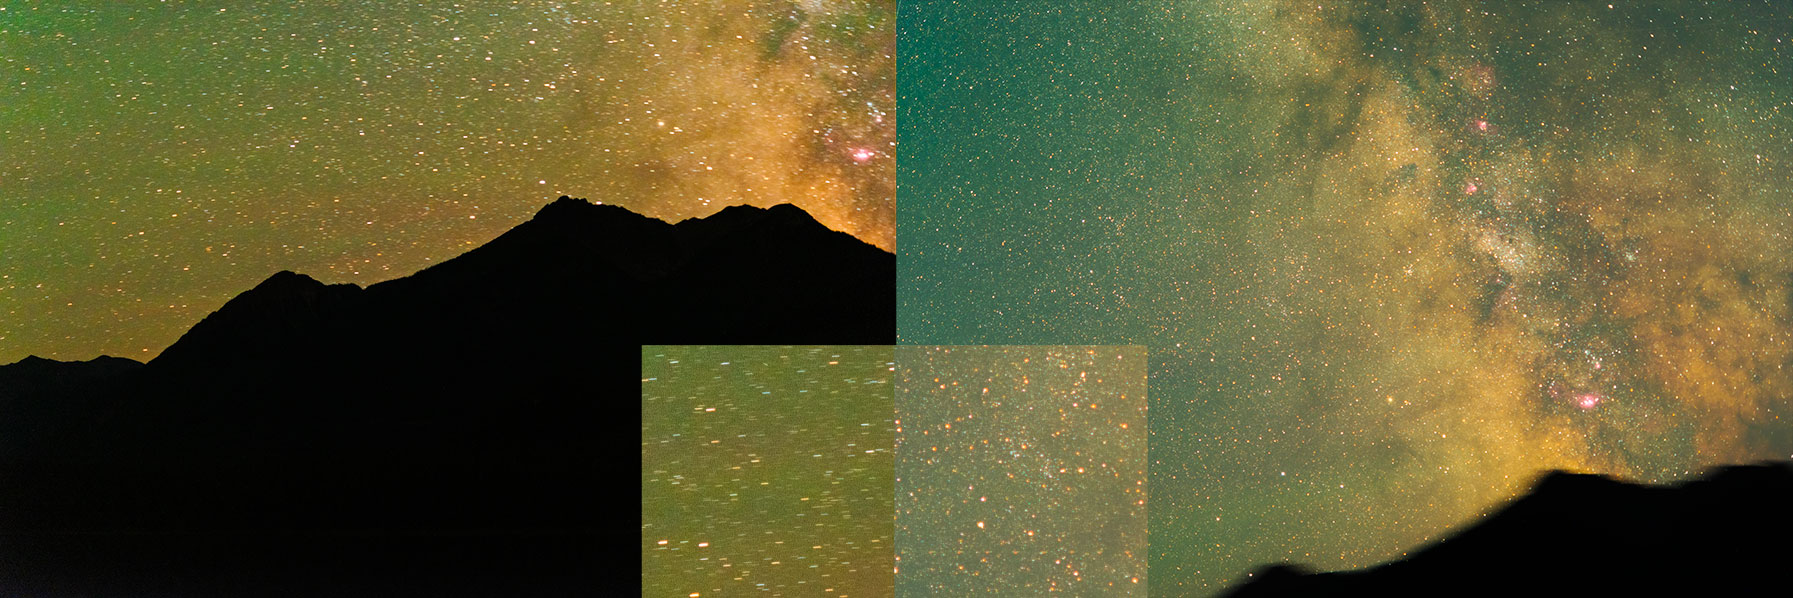
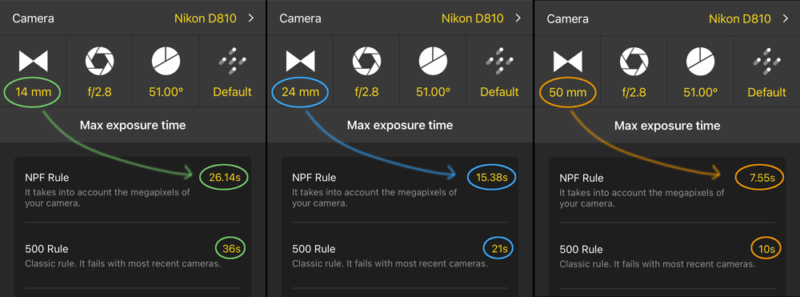
Exposure length matters. A wide angle lens (say 14mm) allows you to set a shutter speed up to 26 seconds before stars stretch out. Whereas a longer lens (say, 24mm), would allow you to shoot approximately 15 seconds before the stars stretch. Imagine how little time you’d have if shooting at 50mm (7.5 sec), or with a longer lens. The shorter the time, the dimmer the image. (PhotoPills App)
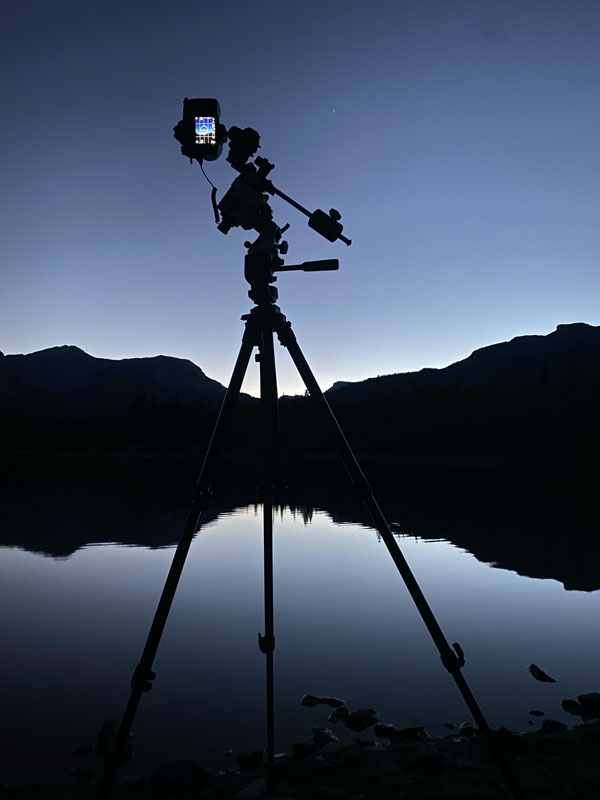
Star Trackers counter the rotation of the earth to allow us to shoot much longer shutter speeds. Even using a wide angle lens, without a tracker the longest we can shoot is 25 seconds before stars blur. With a tracker, shutter times can span minutes collecting light and detail from the sky.
Trackers come with either GOTO mounts or manual equatorial mounts. GOTO mounts align the tracker for you but cost more. Manual mounts take time and know-how to set up but are much cheaper and portable to use.
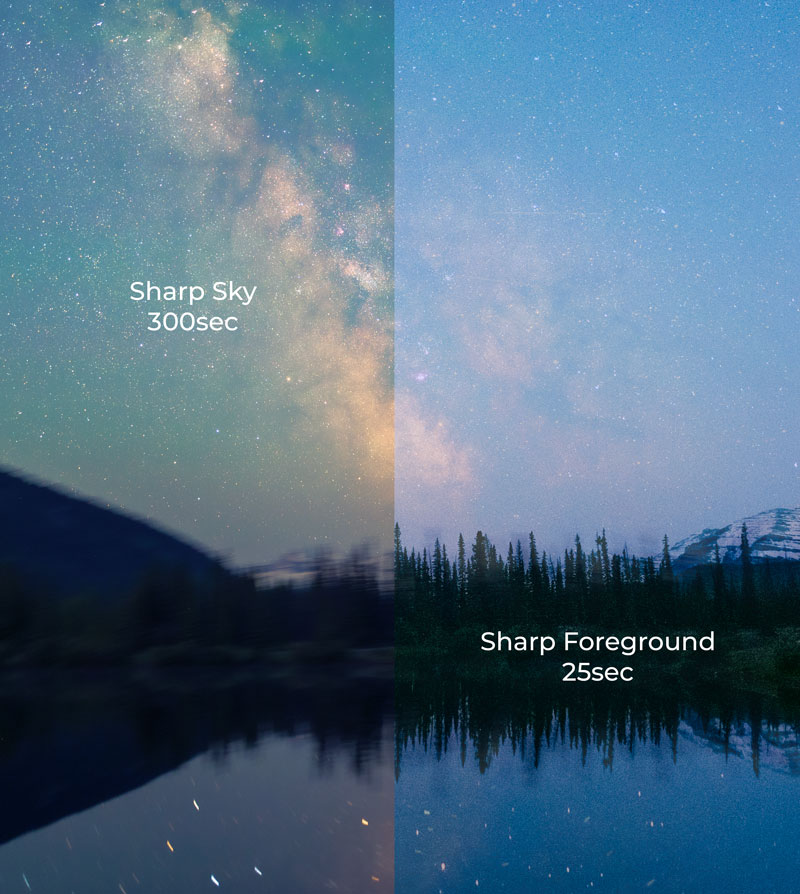
Shoot one of each type and combine them into a composite image (I use Photoshop).
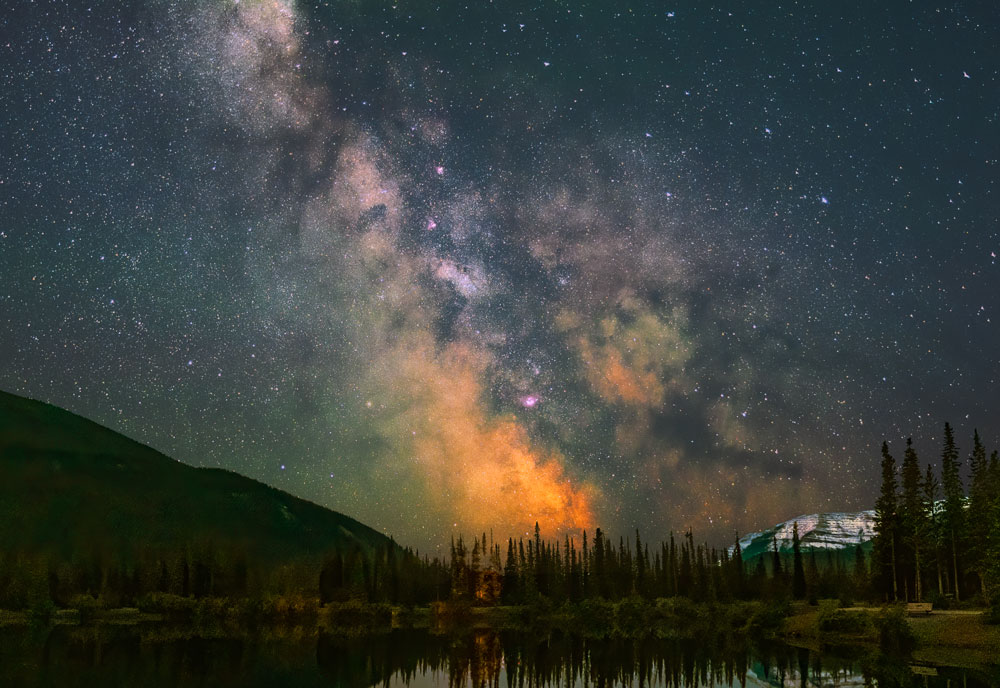
Compositing. The majority of astro photography (night time) images are two or more shots combined. The reason for this is that capturing the night sky requires much longer exposure times than capturing the land does (foreground).
The length of these longer exposures is important too since the Earth is spinning. Too long of exposure, and the stars stretch out to become blurry egg-shapes or even long lines which is another photo technique. Too short of exposure time, and your dark sky image will be too dim to see the milky way clearly.
How Cameras and Humans See the Night Differently
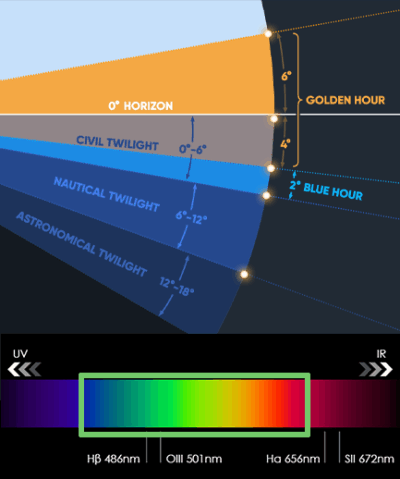
Camera sensors. While human eyes can see some colours, camera sensors can “see” the full spectrum of colours in the night sky, including infrareds, UV, x-rays, and more. Camera manufacturers add a filter on top of the sensor to reduce what the camera “sees” so photos are closer to what humans see. Astro photographers often change that filter to let in more visible light – but not all of it – to increase the range of colours they can photograph and to gain greater detail in their images.
A note on night vision. When we’re in low light, our pupils widen to let in more light. After a few minutes, a protein receptor called rhodopsin starts to activate the rods in your retina. This process takes about 30 minutes. Take a glance at your phone screen, and you’ll need to wait another 30 minutes to see well. While night vision helps us see in the dark, human eyes are incapable of detecting more than a trace of colour. That’s why cameras can see more that us.
Human night vision and the ability to see the aurora depend on different light-sensing cells in the eye. Rods are used in dim light, while cones are used for colour and detail in brighter light. The faint and often colourless look of the aurora to the naked eye happens because human night vision cannot gather as much light as a camera can.
Science Behind Human Night Vision
Human vision works through a process called the Duplicity Theory. This theory explains how the eye switches between two kinds of photoreceptor cells in the retina to adjust to different light levels.
Cones: These cells work best in bright light, known as photopic vision. They are responsible for colour vision and detailed central vision. There are three main types of cones, each sensitive to red, green, or blue light.
Rods: These cells are very sensitive to low levels of light. They allow us to see in dim conditions, called scotopic vision. Rods do not detect colour and have lower spatial resolution, so night vision is mostly black and white and less detailed.
Dark Adaptation
When moving from a bright area to a dark one, the pupils widen to let in more light. The main part of this adjustment happens inside the rod cells as they regenerate a light-sensitive chemical called rhodopsin. This process, called dark adaptation, takes about 20 to 30 minutes for the eyes to become fully sensitive. At that point, they can be up to one million times more sensitive than in daylight. This is why waiting in the dark helps you see faint objects in the night sky.
Viewing the Aurora
The way we see the aurora depends on both human vision and the nature of the light display. Faintness and Colour: Auroras are often weak, especially at lower latitudes. In these dim conditions, our eyes rely on rod cells, which cannot see colour. The aurora may then appear pale, greyish, or white.
Colour Perception in Bright Displays: During strong auroral activity, the increased brightness activates the cone cells. This allows us to see colours, most often green. Hints of pink or red, caused by different atmospheric gasses, can sometimes appear in very bright displays.
Camera vs. Human Eye
Cameras often capture more vivid colours and finer details than the human eye. This happens because cameras use longer exposure times to collect more light. The human eye processes images instantly, so it cannot gather light for as long or see the full range of colours that a camera can record. To see the aurora clearly, spend 15 to 30 minutes in the dark and avoid bright lights or light pollution. Head’s up…if your phone screen (or dash) is bright, you reset the night vision clock with each glance. Turn the brightness way down if you can or cover it.


